
Authentic Mexican Refried Beans (Frijoles Refritos)

These authentic Mexican refried beans are creamy, deeply savory, and made entirely from scratch with dried pinto beans. Once you taste the real thing, the canned version just doesn’t compare.
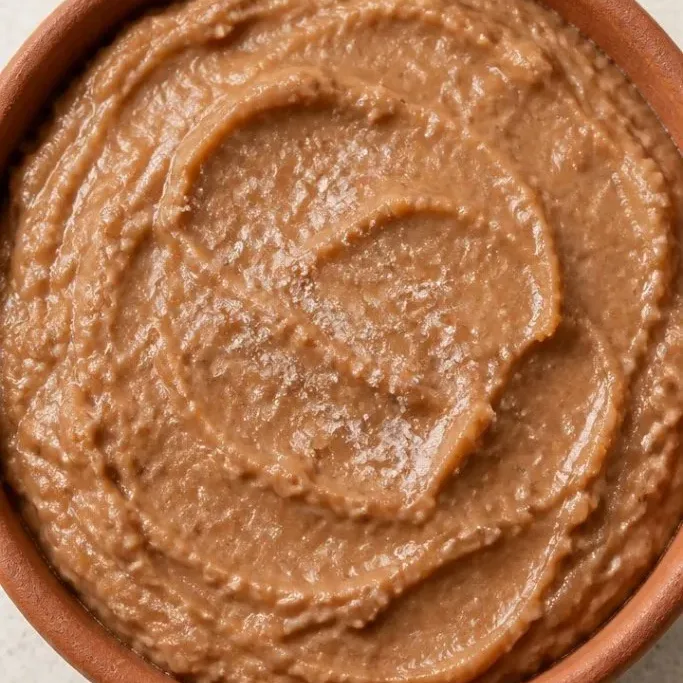
They simmer low and slow until buttery tender, then get mashed and fried in rich lard with exactly the right amount of onion and garlic. Serve them as a side for any Mexican meal, or scoop them straight from the bowl with a warm tortilla.
What Makes These Beans So Good
The flavor is pure and mellow, with a long-simmered bean richness that builds slowly and finishes with a soft garlic hum in the background. Nothing sweet, nothing sharp, just savory comfort.
I love how much control you have over the final texture. Mash some of them chunky and leave a few whole beans if you like it rustic, or keep working them until the whole skillet turns into a glossy, velvety spread.
The lard gives them a silkiness you can’t fake with oil, but I’ve made these with bacon fat and vegetable oil too, and they’re still miles better than anything from a can.
Ingredients

- 1 lb dried pinto beans (about 2 cups): no need to be picky, any bag will work
- ⅓ cup lard: bacon fat or neutral vegetable oil both work well, see substitutions
- 1 small white onion: finely chopped
- 2 garlic cloves: minced
- 1 ½ tsp fine sea salt: divided, plus more to taste
- Water: for soaking and simmering
Variations / Substitutions
- Lard substitute: Use bacon fat for a smoky edge, or vegetable oil for a lighter, plant-based version.
- Add heat: Drop a halved serrano pepper into the simmering beans, then remove it before mashing.
- Canned beans in a pinch: Drain and rinse 2 cans of pinto beans, then fry with the aromatics using a splash of bean liquid or water to moisten.
- Black beans: They work here too, though the flavor is earthier and slightly less creamy than pintos.
- For a complete meal, pair these with my Chicken Tinga Tacos.
Crispy Grilled Chipotle Ranch Chicken Burrito is a great main dish to serve alongside these refried beans.
How to Make Authentic Mexican Refried Beans
Step 1: Cook the Beans Until Tender

The night before, put the dried beans in a large bowl and cover them with several inches of cool water. Let them soak at room temperature for at least 8 hours. Drain and rinse the beans, then transfer them to a large pot and add fresh water to cover by about 2 inches. Bring to a boil over high heat, then reduce the heat to low, cover, and simmer gently.
You need them to cook until a bean squishes completely between your thumb and finger with zero resistance. That takes anywhere from 1 to 2 hours depending on the age of your beans, so start checking at the 60-minute mark.
Don’t add salt during this simmer, salt can tighten the skins and slow the softening. Add more hot water if the pot ever looks dry, the beans should always stay just submerged. When they’re done, ladle out about 2 cups of the bean cooking liquid and set it aside before draining the rest.
Step 2: Fry the Aromatics
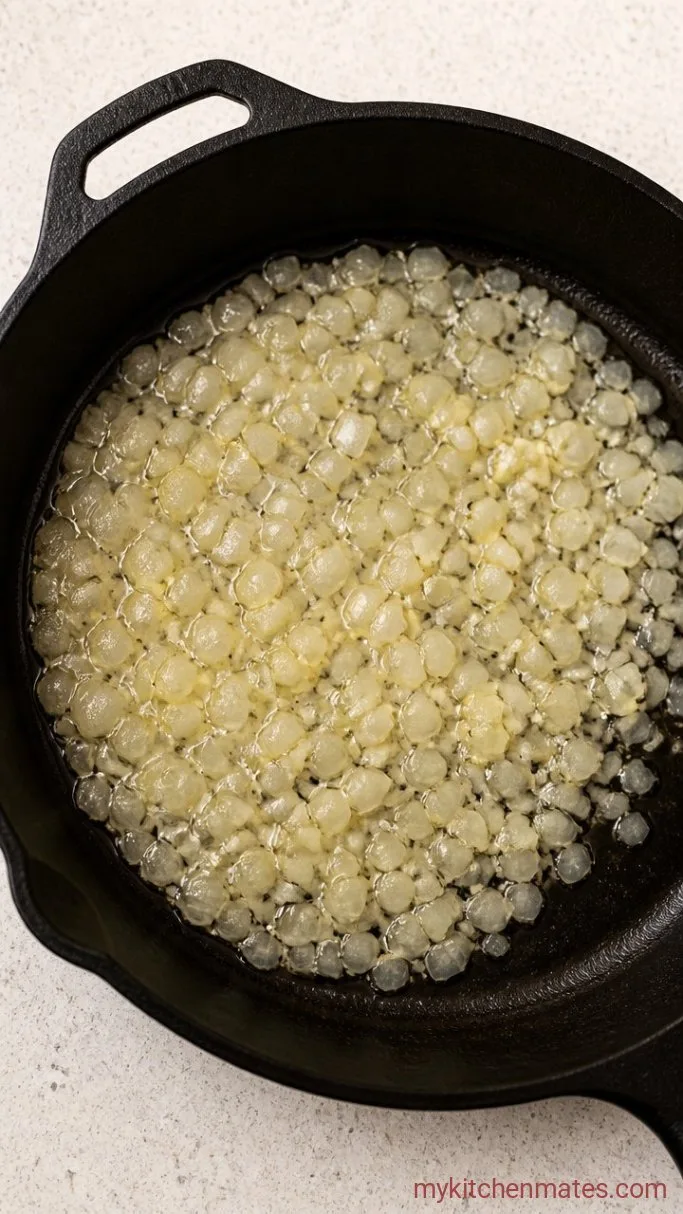
Set a large cast-iron skillet or heavy sauté pan over medium heat and add the ⅓ cup lard. Once it melts, tip in the finely chopped onion and cook, stirring often, until the pieces turn translucent and just begin to pick up a golden edge at the edges, about 5 minutes.
Stir in the minced garlic and let it sizzle for 1 minute, no more. You want the garlic to smell fragrant but stay pale. If the pan gets too hot, slide it off the burner for a moment so nothing burns. The kitchen should smell sweet.
Step 3: Mash the Beans in the Skillet
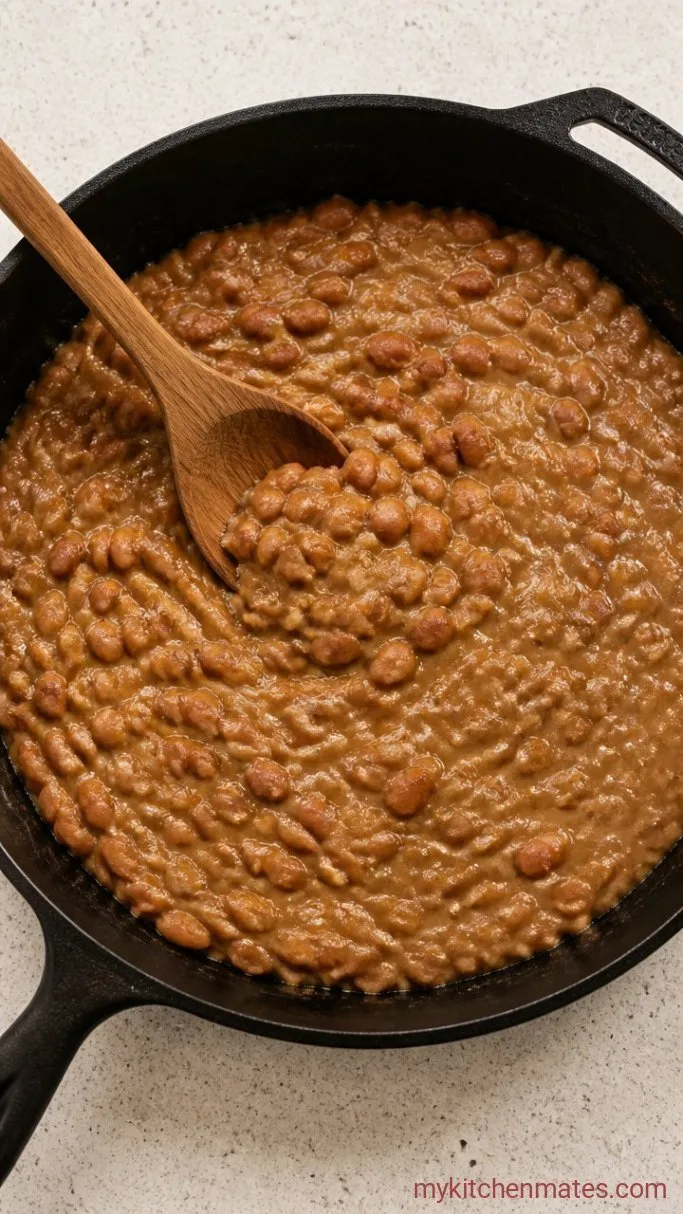
Add the drained cooked beans and a ladleful of the reserved bean broth to the skillet. Raise the heat to medium and start pressing and mashing with a potato masher or the back of a sturdy wooden spoon. Keep working the beans back and forth as they sizzle in the fat.
The mixture will look dry and pasty at first. Gradually pour in more bean broth, about ¼ cup at a time, mashing and stirring until you reach the consistency you want. A looser, creamier texture will continue to thicken slightly off the heat, so pull them a tiny bit thinner than your final goal.
Mash them chunky with flecks of whole bean still visible, or work them until the skillet holds a smooth, almost spreadable mass. The whole process takes about 10 minutes of steady mashing and folding over medium heat.
Step 4: Finish with Salt and Serve

Take the pan off the heat and stir in 1 teaspoon of the salt. Taste a hot spoonful and add the remaining ½ teaspoon if it needs it, then a few cracks of black pepper if you like. Spoon the beans into a warm serving bowl.
A final drizzle of melted lard over the top, or a scatter of crumbled queso fresco, keeps the surface from drying out and makes the bowl look like it just came from a busy cocina. Serve them steaming hot, with extra salt on the side for anyone who wants it.
A Few Tips Before You Start
- Boost the bean broth: Drop a bay leaf and a fat garlic clove into the simmering water. Both add subtle depth without turning the beans into a spiced dish.
- Reheat like a pro: Leftover refried beans firm up in the fridge. Reheat them in a pan over low heat with a splash of water or extra bean broth to bring back the creamy texture.
- Freeze in flat portions: Spread cooled beans into a zip-top bag, press out the air, and lay it flat in the freezer. They thaw overnight in the fridge and reheat beautifully.
- Pick your fat wisely: Lard gives the most authentic, velvety finish. Bacon fat adds a smoky note. Vegetable oil is the quietest background and keeps the flavor all about the beans.
Keeping Refried Beans Fresh
- Refrigerate: Store in an airtight container for up to 4 days.
- Freeze: Pack into a freezer-safe container and freeze for up to 3 months. Thaw in the refrigerator overnight.
- Reheating: Warm gently in a skillet on the stovetop with a tablespoon of water or bean broth to loosen them back up.
What to Serve With Refried Beans
These beans do their best work next to something hearty and a little crisp. Spoon them alongside carnitas tacos with a quick pickled onion, or plate them with carne asada and a scoop of red rice. For a vegetarian plate, they’re perfect with cheese enchiladas smothered in chile sauce, the creaminess of the beans plays against the tangy sauce in exactly the right way.
Frequently Asked Questions
Why do my refried beans turn out dry?
Usually because too much liquid cooked off. Next time, reserve extra bean broth and add it a little at a time until the beans look glossy and loose before you pull them off the heat.
Can I make refried beans vegan?
Yes. Swap the lard for an equal amount of vegetable oil or refined coconut oil. The texture will be slightly less rich, but still creamy and satisfying.
How long do I really need to soak the beans?
Overnight is ideal, at least 8 hours. If you forgot, use a quick soak: cover beans with water, boil 2 minutes, then turn off the heat and let them sit covered for 1 hour before draining and cooking.
What is the best fat for refried beans?
Lard delivers the most traditional flavor and the creamiest mouthfeel. Bacon fat adds a smoky punch that works well with tacos, while vegetable oil keeps it neutral and plant-based.
Authentic Mexican Refried Beans Recipe
Ingredients
Method
- Soak beans overnight, then drain and rinse. Place in a pot, cover with 2 inches of water, and boil. Reduce to a simmer and cook until very tender, 1 to 2 hours. Reserve 2 cups of bean broth, then drain.
- In a large skillet over medium heat, melt the lard. Add the onion and cook until translucent and just starting to turn golden, about 5 minutes. Add the garlic and cook 1 minute.
- Add the drained beans and a ladle of bean broth to the skillet. Mash with a potato masher over medium heat, adding more broth gradually until the beans reach your preferred creamy consistency, about 10 minutes.
- Remove from heat, stir in 1 teaspoon salt, taste, and add the remaining ½ teaspoon salt if needed. Spoon into a bowl, drizzle with a little extra lard or top with crumbled cheese, and serve hot.
Notes
