
Amy’s Everyday Sourdough Bread

This is the sourdough I bake a few times a month, the one that taught me that patience and a Dutch oven do most of the heavy lifting. A crackly, deep-gold crust and a chewy, open crumb with just the right tang. It asks for some time, but your hands are barely involved.
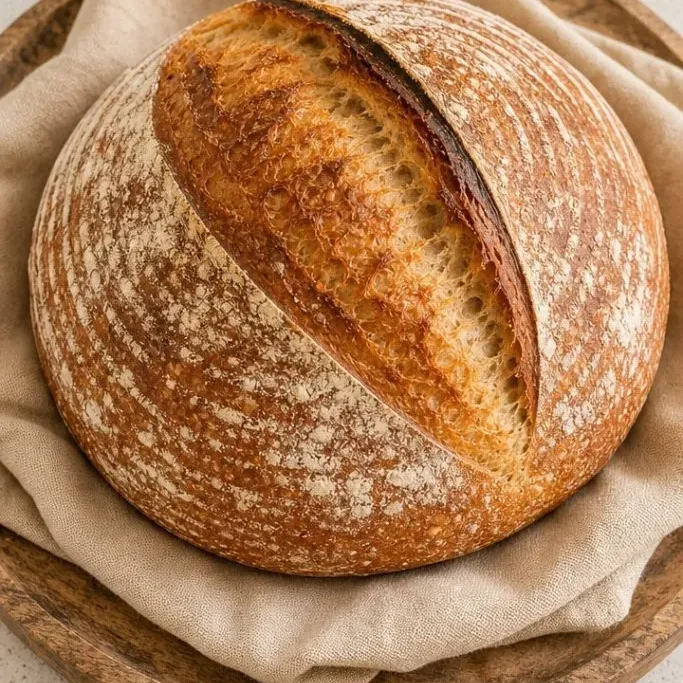
The smell alone makes the whole kitchen feel like a proper bakery, and the first slice with salted butter still melts me every time.
What Makes This Loaf So Good
The flavor comes from a long, cold overnight proof. That slow rise builds the subtle sourness without making the bread sharp or boozy. It also makes the dough easier to score cleanly in the morning.
Steam matters more than anything for the crust, and a hot Dutch oven traps it beautifully. The crumb stays tender inside while the outside turns shattery and dark. No fussing with water pans or sprays.
I keep this recipe around because it works the same every time. No levain builds, no guesswork. Measure, fold, wait, bake.
Ingredients
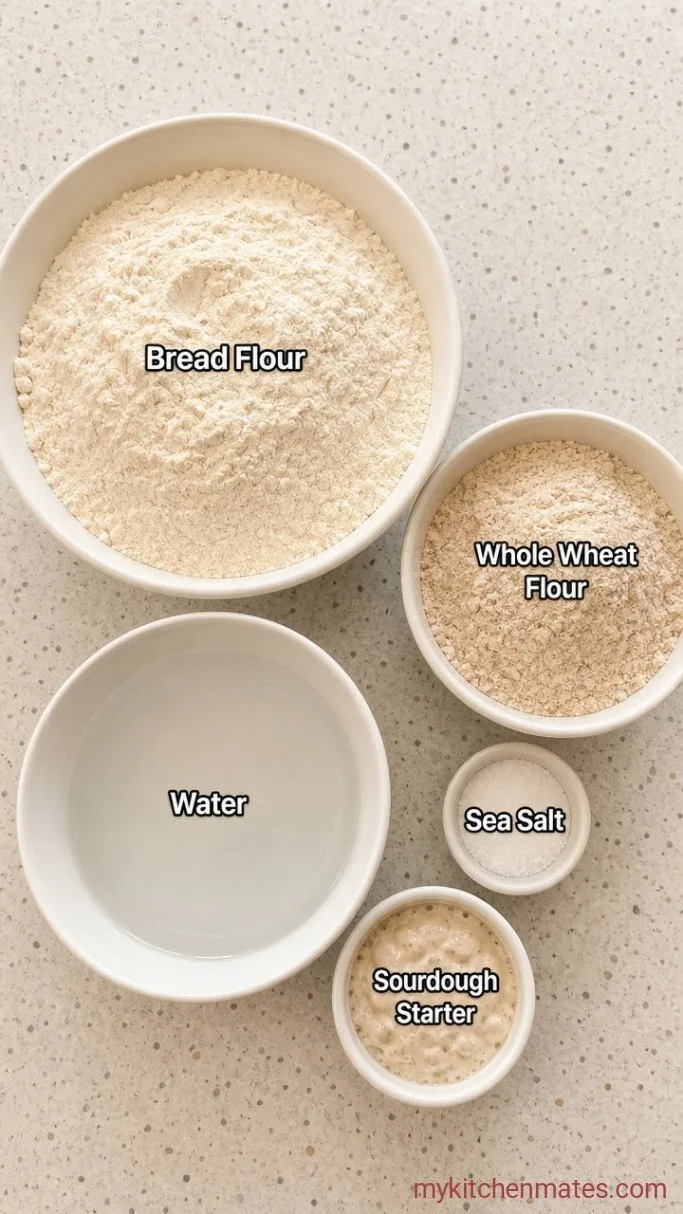
- 500 g bread flour: high-protein flour gives the loaf structure and chew
- 100 g whole wheat flour: adds a nutty depth and helps the crust color up
- 450 g water, room temperature: enough to create an open crumb without turning the dough into soup
- 100 g active sourdough starter, 100% hydration: fed and doubled, at peak activity
- 10 g fine sea salt: don’t skip or reduce it; salt reins in the tang and firms the gluten
Variations / Substitutions
- Swap the whole wheat: use rye, spelt, or einkorn for a deeper, earthier flavor (keep the total flour weight the same)
- Add seeds or olives: fold in 50 g of toasted sunflower seeds or chopped olives with the salt; drop the water by 15 g if the mix-in is wet
- Make it a sweeter loaf: replace the whole wheat with bread flour, add 20 g honey and 50 g dried fruit during the final fold
- Use all bread flour: drop the whole wheat entirely and use 600 g bread flour; the loaf will taste milder and have a more custardy crumb
Hearty Beef and Barley Stew goes perfectly with this sourdough for a cozy meal.
How to Make Amy’s Everyday Sourdough Bread
Step 1: Mix the Flour and Water
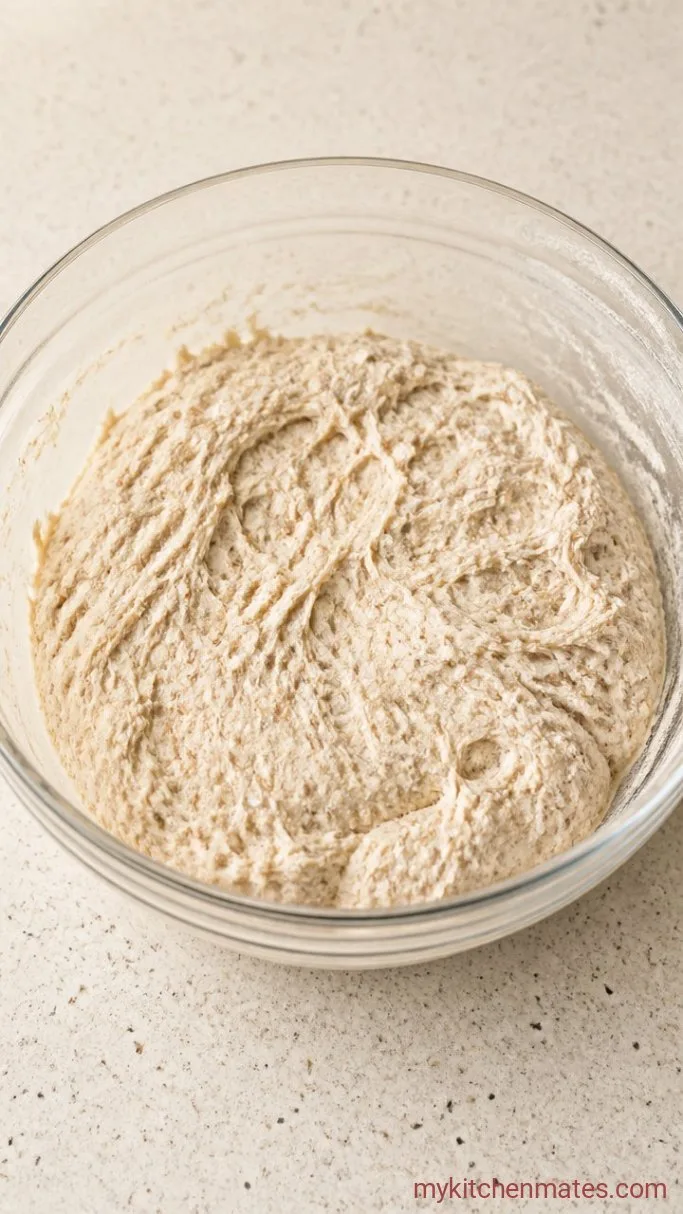
In a large bowl, stir together the 500 g bread flour, the 100 g whole wheat flour, and the 450 g water. Mix with a sturdy spoon or your hand until no dry pockets remain. The dough will look shaggy and feel stiff, but it will relax. Cover the bowl and let everything hydrate for 30 minutes. This rest, often called an autolyse, gives the flour time to absorb the water and starts gluten development before you add anything else.
After thirty minutes the dough will already feel softer and more extensible. Drag a finger through it and you’ll notice less resistance. That softness is your head start on a good crumb.
Step 2: Add the Starter and Salt
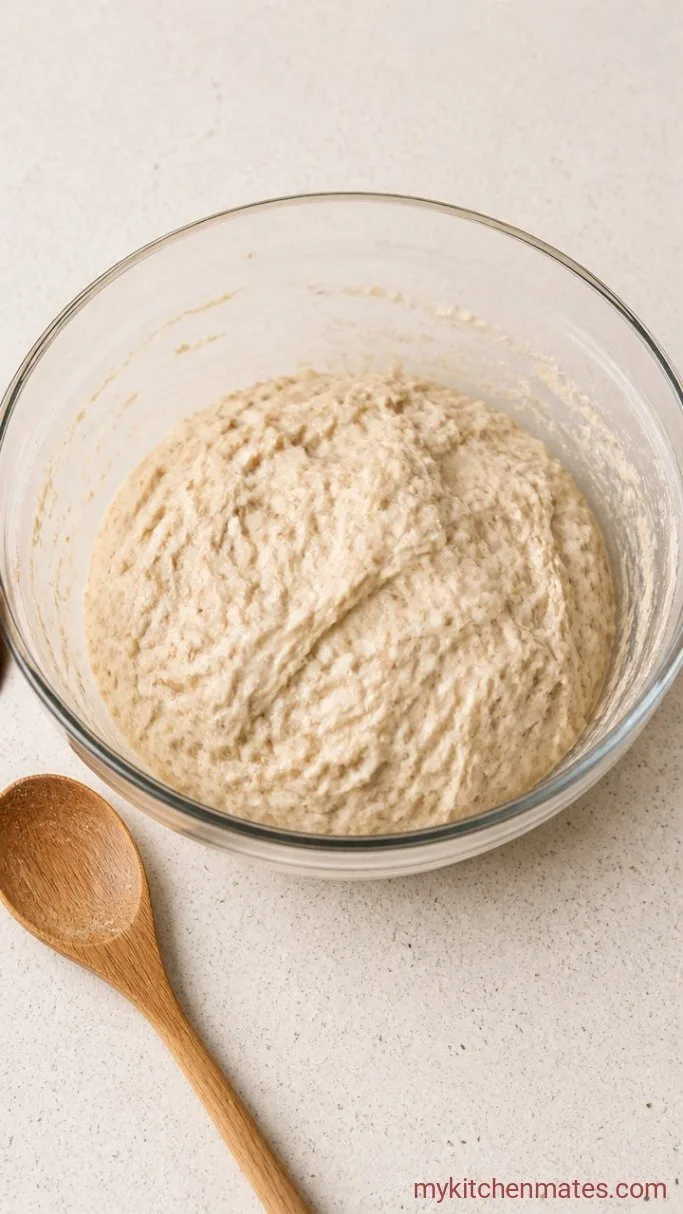
Scatter the 10 g salt over the dough, then dollop on the 100 g active starter. Pinch and fold the mixture with a wet hand until the starter disappears and the salt feels fully mixed in, about 2 minutes. The dough will seem wetter than before, and it may feel a little slippery. That’s fine. Cover the bowl again and let it rest for another 30 minutes.
You’ll notice the dough beginning to smooth out and hold a gentle mound shape. The color turns slightly creamier, and the surface looks less rough. That shift signals the starter is waking up and working.
Step 3: Stretch and Fold the Dough
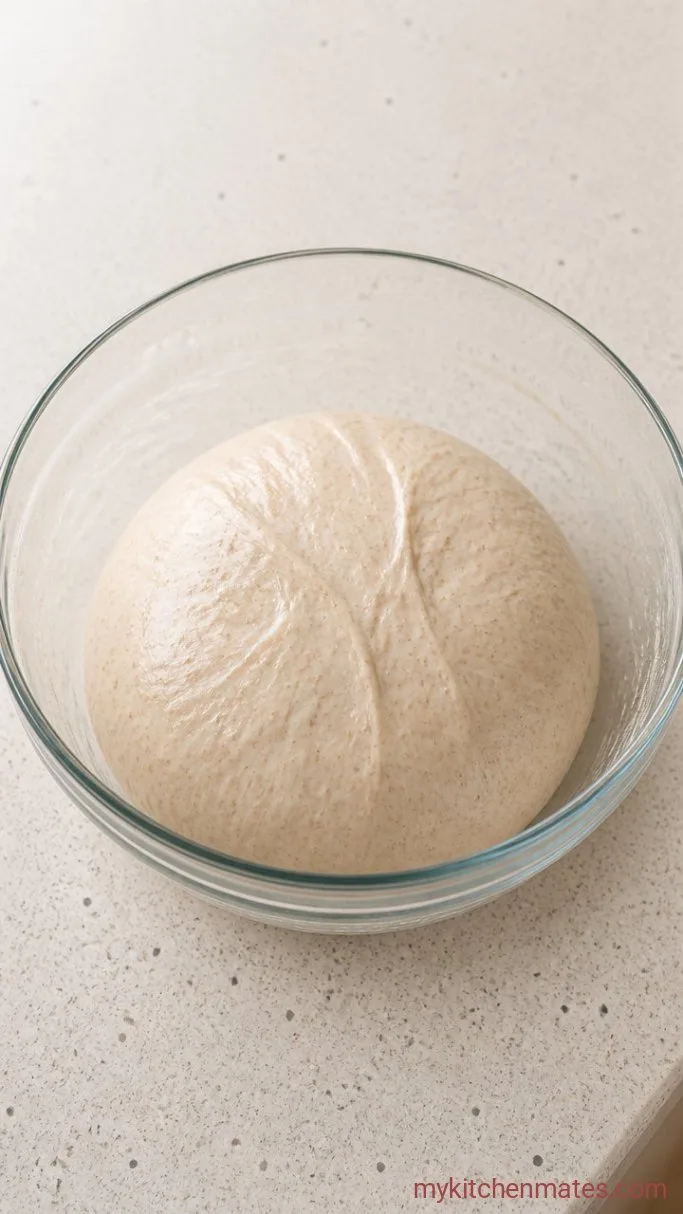
Wet your hand lightly. Reach under the dough, grab a section, and stretch it upward until you feel resistance, then fold it back over the top. Rotate the bowl a quarter turn and repeat, working your way around until you have completed four folds. Cover and wait 30 minutes, then do another set. Complete three or four sets total, spacing them 30 minutes apart. The bulk fermentation will take about 4 to 5 hours in a room around 72°F (22°C). You’re watching for the dough to nearly double and show a domed, jiggly surface dotted with visible bubbles.
By the last set of folds, the dough will hold its shape better and resist the fold less. It feels puffy and full of air. If you tug a bit with a wet fingertip, the dough should stretch thin without tearing right away. That’s your gluten network doing its job.
Step 4: Shape and Proof Overnight
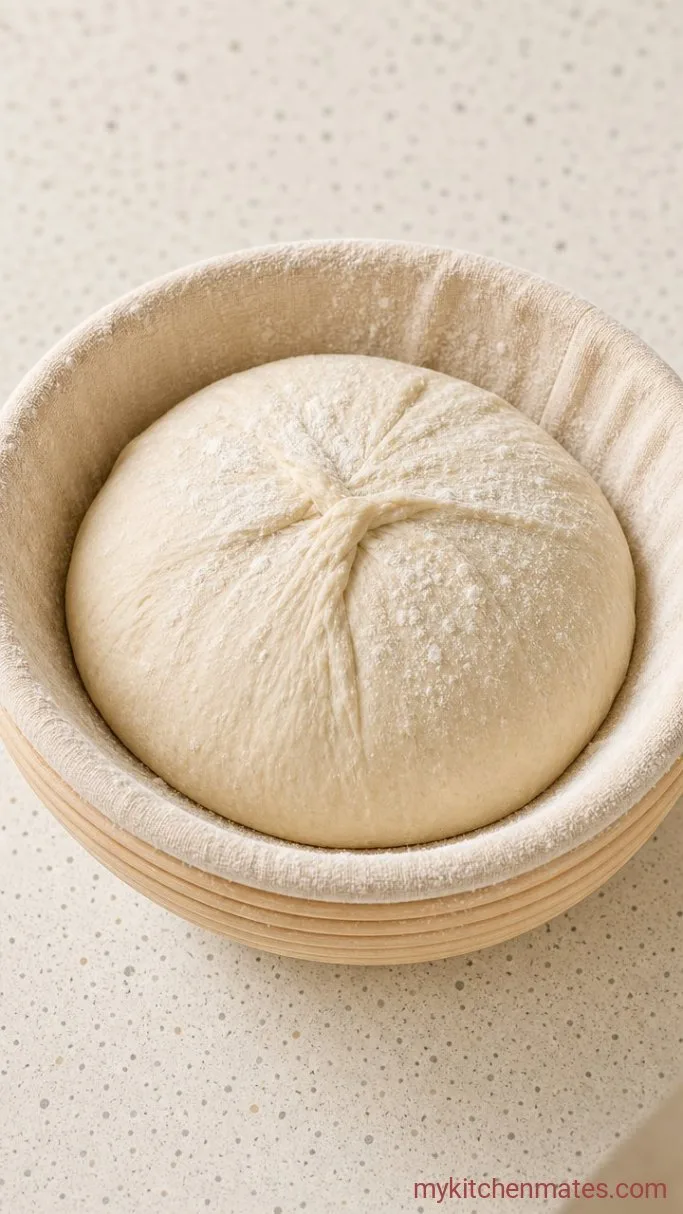
Turn the dough out onto a lightly floured surface. Shape it into a tight round by gently pulling the edges into the center, then flipping it seam-side down. Let it rest uncovered for 15 minutes while you dust a banneton or a tea-towel-lined bowl with rice flour. Flip the dough over, tighten the shape once more using a bench scraper, and place it seam-side up into the banneton. Cover and refrigerate for at least 10 hours, up to 14.
The cold proof deepens the flavor and firms the dough, making it much easier to score before baking. In the morning the loaf will have risen some and feel taut to the touch, still cool and sturdy. That’s exactly how you want it.
Step 5: Score and Bake
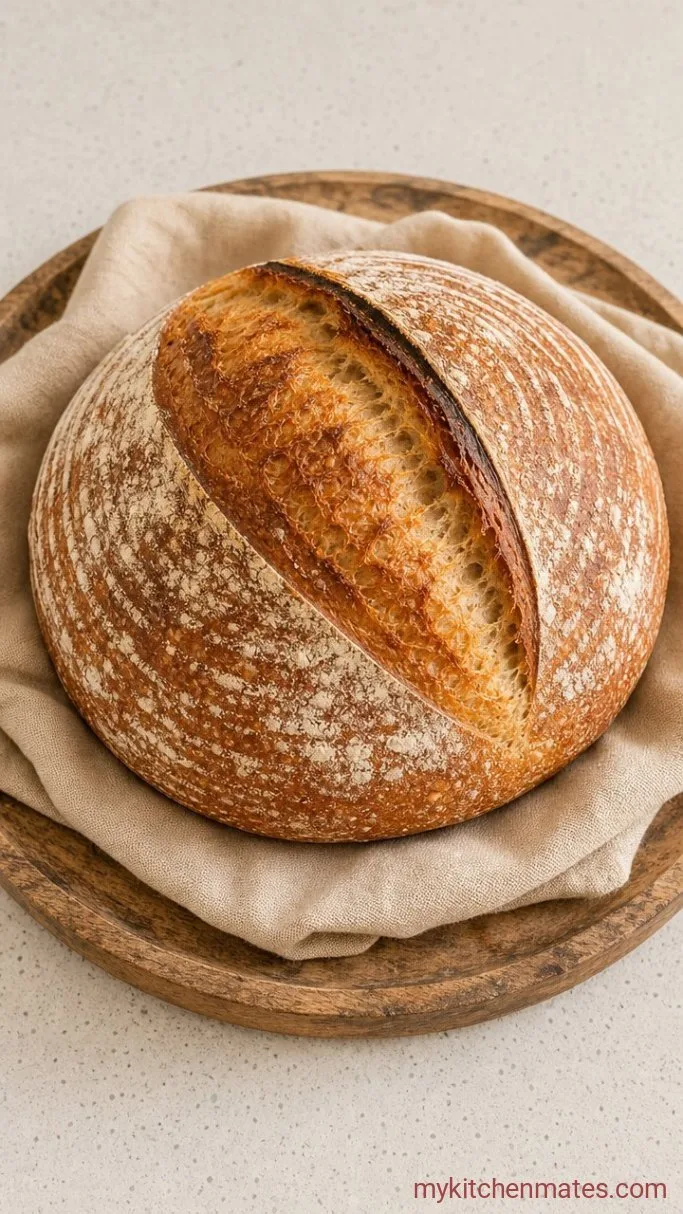
About 30 minutes before you plan to bake, place a Dutch oven with its lid inside your oven and set the temperature to 500°F (260°C). Let everything preheat fully. Flip the cold dough out onto a square of parchment paper, dust off excess flour, and use a sharp lame or razor blade to make one decisive slash across the top, about ½ inch deep. Carefully lower the parchment and dough into the hot Dutch oven, cover it, and bake for 20 minutes. Remove the lid, drop the heat to 450°F (230°C), and bake another 25 minutes until the loaf is a deep chestnut brown and sounds hollow when tapped on the bottom.
The kitchen will fill with that toasty, almost sweet smell. Pull the bread out, lift it by the parchment, and set it on a wire rack. A crackling song will start right away as the crust contracts. Let it cool completely, at least an hour, before you slice in. The wait is the only hard part.
A Few Tips Before You Start
- Choose your flour wisely: bread flour with 12.7% protein or higher gives you the strength needed for a long ferment; all-purpose tends to spread.
- Use an active starter at its peak: feed it 1:1:1 by weight, and use it when it has doubled and a spoonful floats in water. A sluggish starter leads to a dense loaf.
- Watch the dough, not the clock: the bulk ferment time depends on your kitchen temperature; in winter your dough may need a full extra hour. Look for jiggle and bubbles, not a timer.
- Steam with ice for an extra-crackly crust: before sealing the Dutch oven, toss two ice cubes between the parchment and the pot wall. The burst of steam helps the ear form beautifully.
- Cool fully before cutting: slicing into hot bread compresses the crumb and makes it gummy. That first clean slice when it’s cool is worth the wait.
Bake times by method:
| Method | Temperature | Time |
|---|---|---|
| Dutch oven, covered | 500°F (260°C) | 20 mins |
| Dutch oven, uncovered | 450°F (230°C) | 25 mins |
| Baking stone with steam pan | 475°F (245°C) | 35–40 mins |
Storing Your Sourdough Bread
- Refrigerate: I don’t refrigerate sourdough; it stales faster in the cold. Keep the loaf cut-side down on a wooden board at room temperature, wrapped in a clean tea towel, for up to 3 days.
- Reheating: revitalize a day-old loaf by spritzing the crust with water and warming it in a 350°F (175°C) oven for 10 minutes. It recrisps beautifully.
- Freeze: slice the cooled loaf, freeze the slices in a zip-top bag with as much air pressed out as you can. Toast straight from the freezer.
Frequently Asked Questions
Can I use all-purpose flour instead of bread flour?
Yes, but the dough will have less strength and may spread more during proofing. Handle it more gently and expect a slightly tighter crumb.
My starter passed the float test, but the dough didn’t rise well. What happened?
The float test only shows gas; it doesn’t measure yeast health. The starter may have peaked and started falling, or the water was too hot. Use it right at its highest dome and keep room-temperature water.
Do I have to cold proof overnight?
It’s not required, but skipping it will give you a milder flavor and a more difficult time scoring. If you’re in a hurry, proof at room temp for 2 to 3 hours and then bake, but the crust won’t blister as much.
Why did my loaf turn out flat and gummy?
Often this is under-proofing. The bulk ferment didn’t go long enough, or the shaping knocked out all the gas too late. Watch for the dough to feel puffy and full of visible bubbles before you shape.
Can I double the recipe into two loaves?
Absolutely. Use a bigger bowl for bulk fermentation, split the dough at shaping time, and proof in two bannetons. Bake them one after the other; the second can stay in the fridge while the first bakes.
Amy’s Everyday Sourdough Bread Recipe
Ingredients
Method
- Stir the flours and water until no dry spots remain. Cover and rest 30 minutes.
- Add the starter and salt, pinch and fold until mixed. Cover and rest 30 minutes.
- Perform 3–4 sets of stretch-and-folds, 30 minutes apart. Bulk ferment 4–5 hours until doubled and jiggly.
- Shape into a round, rest 15 minutes, then place seam-up in a floured banneton. Cover and refrigerate 10–14 hours.
- Preheat a Dutch oven to 500°F (260°C). Transfer cold dough to parchment, score the top, and bake covered 20 minutes. Uncover, reduce heat to 450°F (230°C), and bake 25 minutes until deep brown. Cool completely on a rack.
Notes
