
Crispy Baked Chicken Fingers That Taste Fried
These baked chicken fingers come out of the oven shatteringly crisp and golden, with zero deep frying. They’re the kind of weeknight meal that everyone at the table reaches for, and no one complains about.
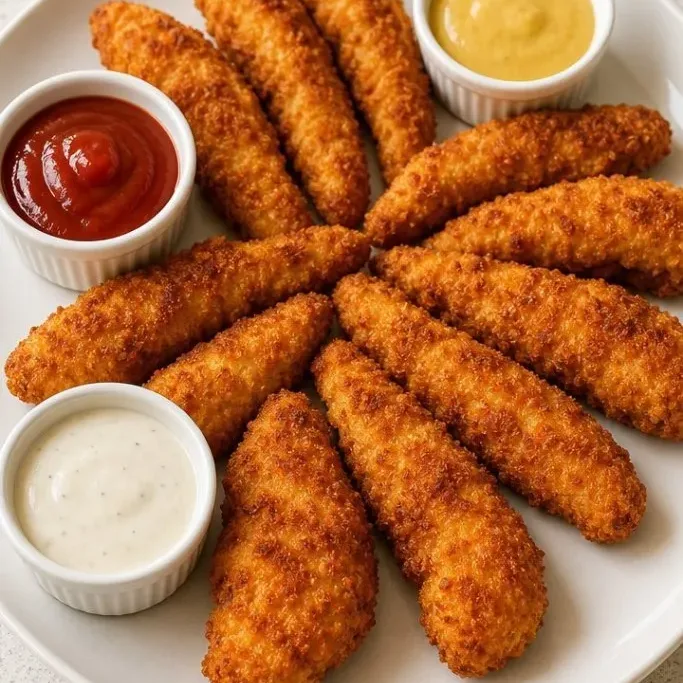
The two-step breading locks onto the chicken and bakes into a shell that actually crunches. You get all the texture of fried chicken with less mess and no standing over hot oil.
What Makes These Chicken Fingers So Good
The panko and cornflake coating delivers a loud crunch that holds up even after the fingers cool a bit. Inside, the chicken stays tender because the buttermilk does double duty, it seasons the meat and helps the breading stick.
I keep coming back to this version because it’s fast enough for a Tuesday and reliable enough to serve when friends’ kids are over. A hot oven and a sheet pan do all the work, and you’re left with a stack of dippable, golden strips.
Ingredients
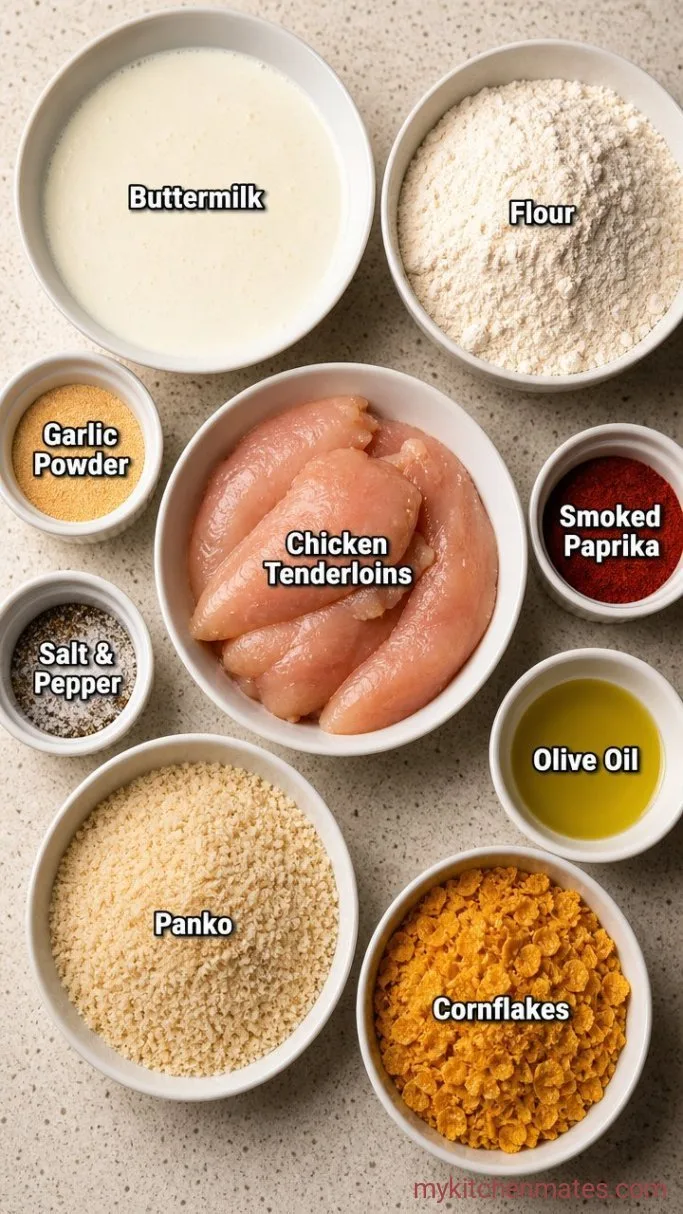
- 1½ lbs chicken tenderloins or boneless skinless breasts cut into 1-inch strips: tenderloins are the easiest, no slicing needed
- 1 cup buttermilk: tenderizes and helps the coating cling
- 1 cup all-purpose flour: for the first dredge
- 2 tsp garlic powder: divided between marinade and breading
- 2 tsp smoked paprika: divided; sweet or hot both work
- 1 tsp kosher salt: divided, plus more for finishing
- ½ tsp black pepper: divided
- 2 cups panko breadcrumbs: the base for a light, crisp crust
- 1 cup crushed cornflakes: use plain cornflakes, crushed to coarse crumbs
- Olive oil or cooking spray: a generous spritz helps browning
Variations / Substitutions
- No buttermilk: Stir 1 tablespoon lemon juice or white vinegar into 1 cup milk and let it sit 5 minutes.
- Gluten free: Use a 1-to-1 gluten-free flour blend and GF panko; cornflakes are naturally gluten free (check the label).
- Extra spicy: Add ½ teaspoon cayenne to the panko mixture or a few dashes of hot sauce to the buttermilk.
- Skip the cornflakes: Use an extra cup of panko instead; the fingers will still be crispy, just a touch lighter.
- Dairy free buttermilk: Use unsweetened oat milk plus lemon juice and swap the butter in any dipping sauce.
For a change of pace, try Crispy Baked Chicken Cutlets, they use a similar breading on larger pieces and are great on a bun.
How to Make Crispy Baked Chicken Fingers
Step 1: Marinate the Chicken
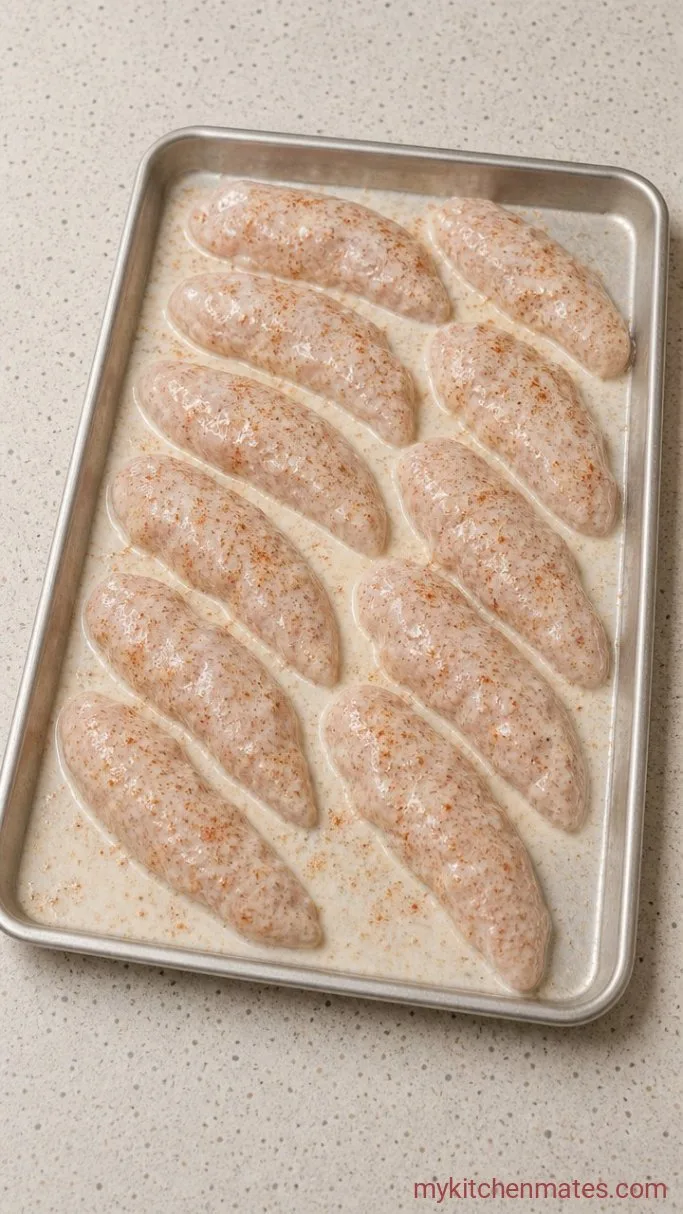
In a large bowl, whisk together the 1 cup buttermilk, 1 teaspoon garlic powder, 1 teaspoon smoked paprika, ½ teaspoon salt, and ¼ teaspoon pepper. Add the chicken strips and turn to coat. Let them sit while you set up the breading station, at least 10 minutes or up to 30 in the fridge.
The buttermilk will cling to the chicken in a thin, pale orange film. That tacky surface is exactly what you want before dredging.
Step 2: Bread the Chicken
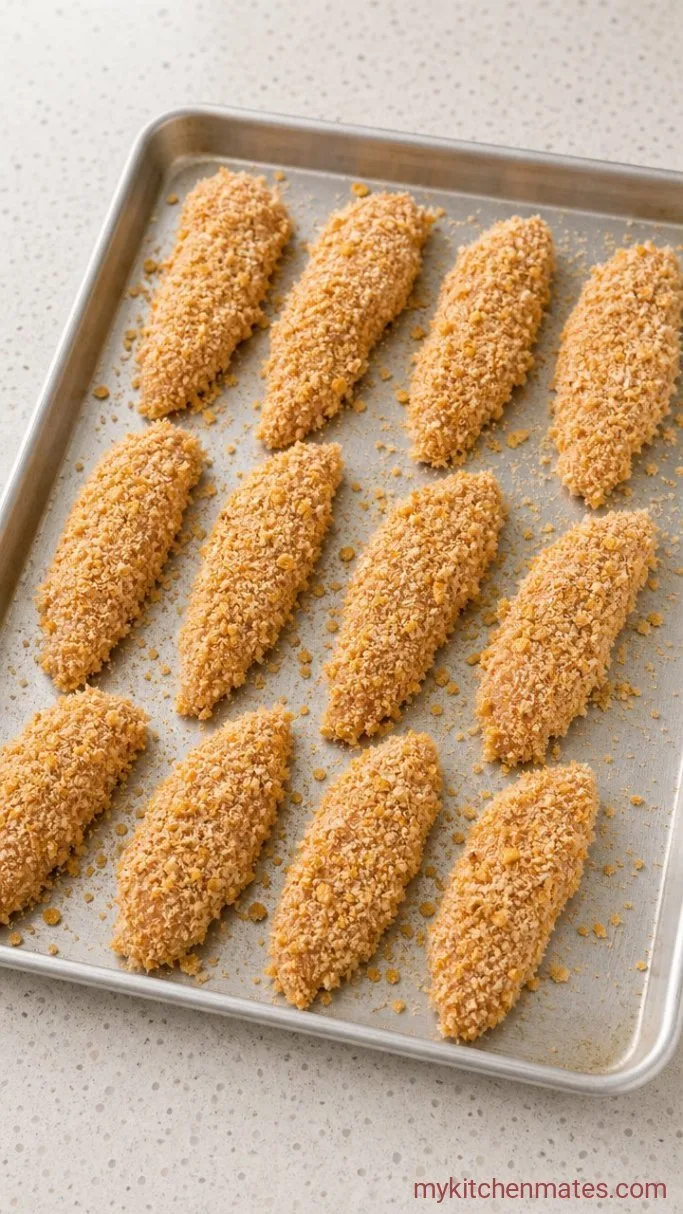
Preheat the oven to 425°F (220°C). Place a wire rack inside a large rimmed baking sheet and set it aside. In a shallow dish, stir together the 1 cup flour with the remaining garlic powder, smoked paprika, salt, and pepper. In a second dish, combine the 2 cups panko and 1 cup crushed cornflakes. One at a time, lift a chicken strip from the buttermilk, let the excess drip off, and coat it in the flour mixture. Dip it back into the buttermilk briefly, then press it firmly into the panko-cornflake mix, turning to cover every spot.
The coating should look shaggy and completely opaque, with no wet patches showing through. Pressing the crumbs on with your fingers makes them stick better.
Step 3: Arrange and Spray
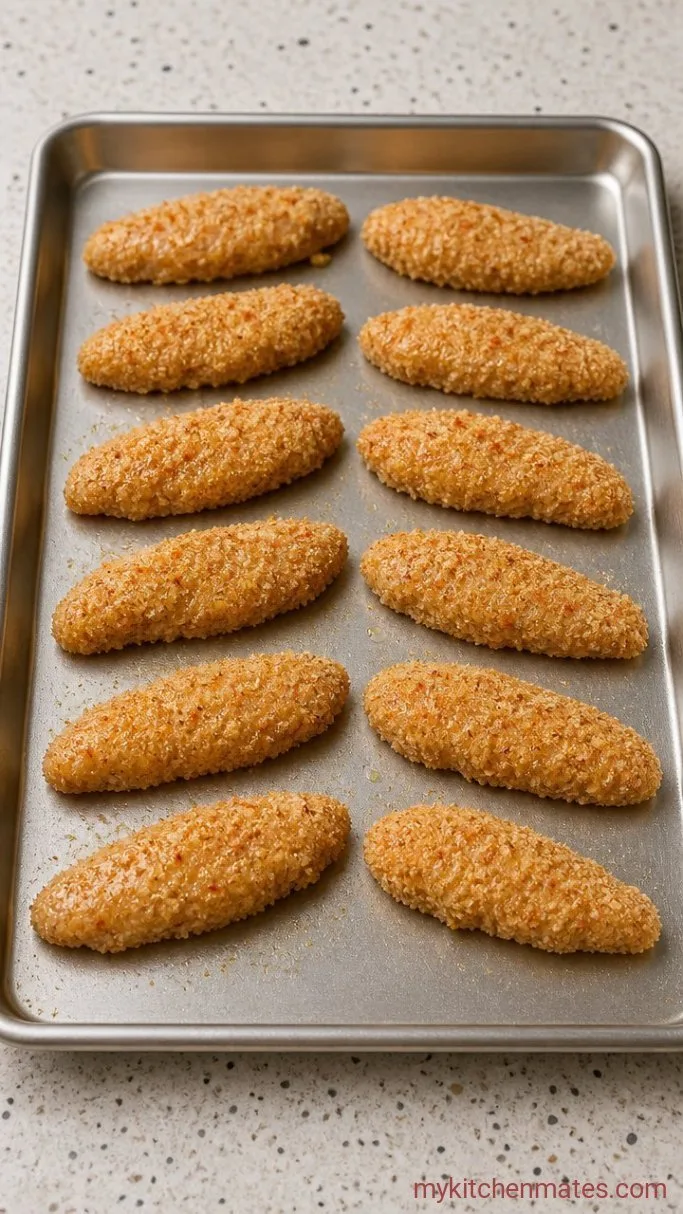
Place the breaded chicken fingers on the wire rack, leaving a little space between each one so air can move around them. Spritz the tops generously with olive oil spray or drizzle a thin stream of oil and use your fingers to pat it over the coating. You want the entire surface to glisten lightly.
The wire rack lifts the chicken off the pan, which stops the bottoms from steaming and keeps them crisp all the way around.
Step 4: Bake Until Golden
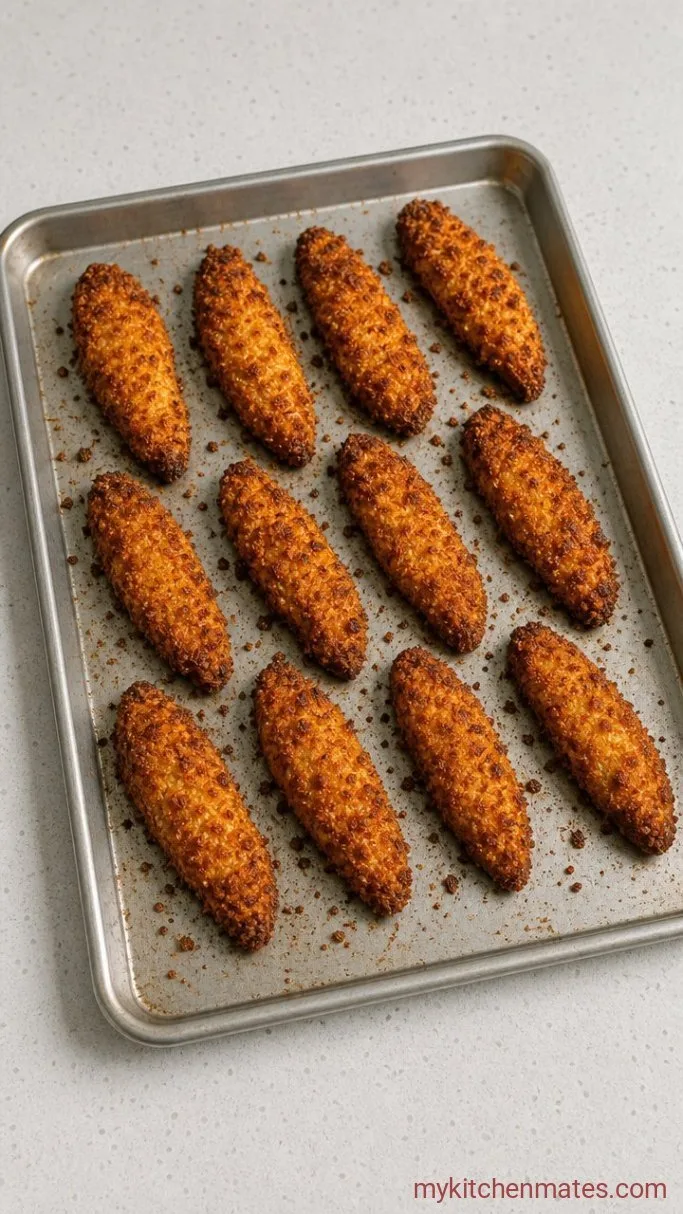
Slide the pan into the hot oven and bake for 12 to 15 minutes, flipping the fingers with tongs halfway through. They’re done when they read 165°F on an instant-read thermometer and the breading is deep amber with darker brown spots.
The coating will sizzle faintly as it bakes, and you’ll smell the paprika toasting. Let them rest on the rack for 2 minutes so the crust sets completely before moving them.
Step 5: Serve with Dipping Sauces
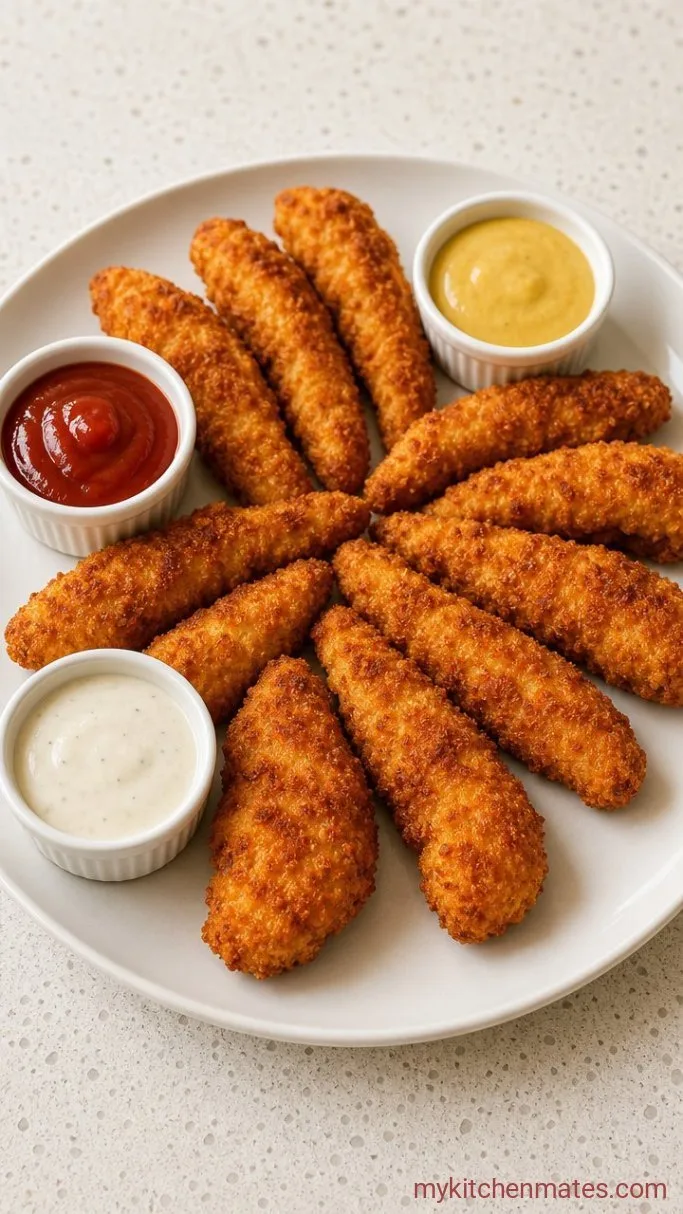
Pile the fingers on a platter and set out small bowls of ketchup, honey mustard, ranch, or barbecue sauce for dipping. A sprinkle of flaky salt right before serving brings out the crunch.
A Few Tips for Extra Crispy Fingers
- Use a wire rack. It’s the single biggest factor for all-over crispness. Parchment alone traps steam underneath.
- Don’t crowd the rack. If the fingers touch, the sides won’t crisp. Bake in two batches or use two pans if needed.
- Let the breaded chicken sit for 5 minutes on the rack before baking. This gives the flour time to hydrate and glue the coating on.
- Crush the cornflakes by hand into uneven crumbs, not fine powder. The irregular bits create more craggy crunch.
Bake times by chicken strip thickness:
| Thickness | Bake time at 425°F | Flip at |
|---|---|---|
| ½ inch | 12 to 14 minutes | 7 minutes |
| ¾ inch | 14 to 16 minutes | 8 minutes |
| 1 inch | 16 to 18 minutes | 9 minutes |
Keeping Leftover Chicken Fingers Crispy
- Refrigerate: Store leftovers in a shallow airtight container for up to 3 days. Place a paper towel in the container to absorb any moisture.
- Reheating: Reheat on a wire rack in a 375°F oven or in an air fryer at 350°F for 4 to 6 minutes, until the coating feels crisp again. The microwave turns them soft and steamy, so skip it.
What To Serve With Crispy Baked Chicken Fingers
A cool, crunchy coleslaw balances the warm, crisp fingers and adds freshness to the plate. For something heartier, roasted sweet potato wedges seasoned with chili powder echo the paprika in the breading. On game day, set out a whole spread with soft pretzel bites and celery sticks alongside the dipping bowls.
Frequently Asked Questions
Can I cook these in an air fryer instead?
Yes, air fry at 400°F for about 10 minutes, flipping halfway, until the chicken reaches 165°F. You’ll get an even crispier crust with less time.
Why aren’t my chicken fingers crispy?
The most common reasons are skipping the wire rack, overcrowding the pan, or forgetting the oil spritz. All three steam the coating instead of crisping it.
Can I freeze them for later?
Yes, freeze the unbreaded buttermilk-marinated chicken on a tray, then bread them straight from frozen and add 4 to 5 minutes to the bake time. Or freeze fully breaded, unbaked fingers on a tray, then bake from frozen, adding 6 to 8 minutes.
Crispy Baked Chicken Fingers Recipe
Ingredients
Method
- Whisk buttermilk with 1 tsp garlic powder, 1 tsp smoked paprika, ½ tsp salt, and ¼ tsp pepper. Add chicken and marinate 10 to 30 minutes.
- Preheat oven to 425°F and place a wire rack on a baking sheet. Mix flour with remaining garlic powder, paprika, salt, and pepper in one dish and combine panko and crushed cornflakes in another.
- Remove chicken from buttermilk, coat in flour, dip again briefly in buttermilk, then press firmly into the panko-cornflake mix.
- Place breaded fingers on the prepared rack, spray generously with oil, and bake 12 to 15 minutes, flipping halfway, until internal temp reaches 165°F.
- Serve immediately with dipping sauces and a sprinkle of flaky salt.
