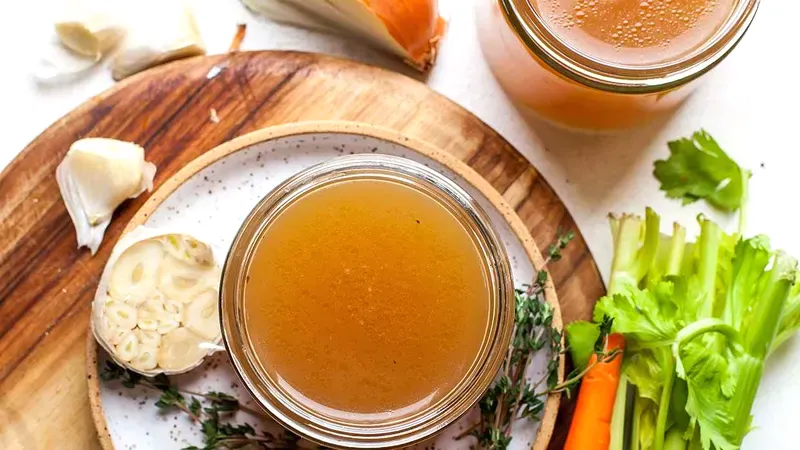
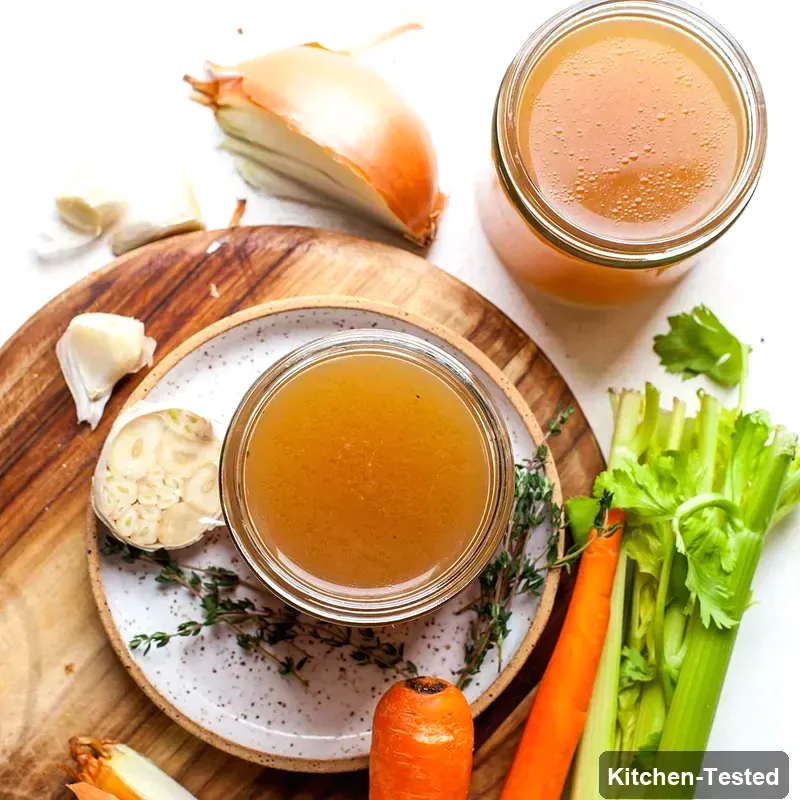
Rich and Nourishing Beef Bone Broth
Nothing beats the soul-warming comfort of homemade beef bone broth simmering away in your kitchen! This incredible recipe is perfect for anyone who loves deep, rich flavors and wants to create something truly nourishing from scratch. The best part is how this liquid gold will fill your home with the most amazing aroma and give you a versatile base for countless meals.

Recipe Details
Timing & Servings: Prep Time: 30 minutes, Additional Time: 8 hours, Total Time: 8 hours 30 minutes, Serves: 10 people, Yield: 10 cups.
Nutrition Profile: Gluten-Free.
Nutrition Facts (per serving): 1 Calorie.
Ingredients You’ll Need
Beef soup bones: You’ll need 4 pounds of these beauties – look for necks, shanks, knuckles, backs, and marrow bones at your butcher counter. These bones are the secret to that rich, gelatinous broth that’s so good for you!
Extra-virgin olive oil: Just 2 tablespoons to help those bones get gorgeously browned. This little bit of oil makes such a difference in developing that deep flavor.
Carrots: 4 medium carrots cut into 2-inch pieces will add natural sweetness and beautiful color. Don’t worry about peeling them – just give them a good scrub!
Celery: 4 stalks with their leaves, cut into 3-inch pieces. Those leaves are flavor gold, so don’t toss them out!
Onions: 2 medium onions quartered up will give you that savory base flavor. Yellow or white onions work perfectly here.
Tomatoes: 2 medium tomatoes halved will add a lovely depth and slight acidity. Even winter tomatoes work great in this recipe!
Garlic: 1 whole head halved crosswise – yes, the entire head! It becomes sweet and mellow during the long cooking process.
Cold water: 16 cups of cold water is what you’ll need to cover everything. Cold water helps extract the most flavor from your bones.
Cider vinegar: 2 tablespoons of this magical ingredient helps break down the collagen in the bones. This is your secret weapon for extra-rich broth!
Fresh thyme: 2 sprigs will add that perfect herby note. If you only have dried thyme, use 1 teaspoon instead.
Bay leaves: 2 bay leaves bring that classic depth of flavor. Remember to fish these out before serving!
Black peppercorns: 1 tablespoon of whole peppercorns gives you gentle spice without overpowering. Whole peppercorns are much better than ground for long cooking.
Kosher salt: 1 tablespoon helps bring out all those wonderful flavors. You can always adjust the salt at the end to taste.
How to Make Beef Bone Broth

Step 1: Set up your oven racks in the upper and lower thirds, then preheat to 400°F. Place your soup bones on a rimmed baking sheet and drizzle with that olive oil. Pop them on the bottom rack and let them roast for 30 minutes.
Step 2: While those bones are getting happy, combine your carrots, celery, onions, tomatoes, and garlic on a second rimmed baking sheet. After 30 minutes, move the bones to the upper rack and slide those veggies onto the lower rack. Keep roasting until the bones are deep brown and the vegetables are starting to get those beautiful brown spots – this takes 30 to 45 minutes more.
Step 3: Transfer all those gorgeous roasted bones and vegetables to your big 10- to 12-quart stockpot. Here’s a pro move – add 1 cup of water to that bone pan and scrape up all those amazing browned bits with a wooden spoon. Pour that liquid gold right into your pot too!
Step 4: Add the remaining 15 cups of water, vinegar, thyme, bay leaves, peppercorns, and salt to your pot. Cover it up and bring everything to a boil over high heat. Once it’s bubbling, reduce the heat to maintain a gentle simmer and let it cook covered for 8 whole hours.
Step 5: After that long, wonderful simmer, remove the bones with tongs. If there’s any meat clinging to them, go ahead and save it for sandwiches or soup! Strain your beautiful broth through a large sieve into a big bowl and toss out all the solids. Skim off any fat from the surface if you want to – though some people love that richness!
Easy and Quick Beef Bone Broth Version
I totally get it – sometimes 8 hours feels like forever! For a quicker version, you can use a pressure cooker or Instant Pot. Use the same ingredients but pressure cook on high for 3 hours with natural release. You’ll still get amazing flavor, just not quite as deep as the long-simmered version. It’s still absolutely delicious though!
Serving Ideas
This rich broth is incredible sipped warm from a mug on cold days – it’s like a hug in a cup! Use it as the base for hearty soups, stews, or risottos. You can also use it to cook grains like rice or quinoa for extra flavor and nutrition.
Storage
Your beautiful broth will keep in the refrigerator for up to 1 week or in the freezer for up to 3 months. I love freezing it in ice cube trays for easy portioning! To reheat, just warm it gently on the stove or pop it in the microwave.
Substitutions
Don’t have cider vinegar? White wine vinegar or even lemon juice works great too. Missing fresh thyme? Dried herbs work just fine – use about half the amount. You can swap the vegetables for whatever you have on hand – parsnips, leeks, or mushrooms all add wonderful flavor.
Pro Tips
- Get those bones really dark: Don’t be afraid of deep browning – almost burnt spots give the richest flavor and beautiful color.
- Don’t skip the vinegar: It really does help extract more gelatin and nutrients from the bones.
- Skim or don’t skim: Some fat adds richness, but for clearer broth, refrigerate overnight and the fat will solidify on top for easy removal.
- Freeze in portions: Ice cube trays or muffin tins make perfect single-serving portions.
FAQs
Can I use different types of bones?
You bet! Mix and match beef bones however you like. Marrow bones give richness, knuckle bones provide gelatin, and meaty bones add flavor. Ask your butcher what they recommend!
Why is my broth not gelatinous when cold?
No worries! This just means you need more collagen-rich bones like knuckles or feet. Your broth is still nutritious and delicious. Next time, try adding more joint bones or cooking a bit longer.
Can I make this in a slow cooker?
Sure! After roasting the bones and vegetables, transfer everything to your slow cooker and cook on low for 12-24 hours. The longer cooking time actually gives you even more flavor!
Should I remove the foam that forms on top?
You can if you want a clearer broth, but it’s not necessary! That foam is just protein and it’s perfectly safe. Some of the best broths have a bit of cloudiness from all that good stuff.
I’d love to hear how your bone broth turns out! Drop a comment and let me know if you tried any fun variations. There’s something so satisfying about making this nourishing broth from scratch – you’re going to love it!