KitchenAid dishwashers can start showing drainage problems due to faulty drain pumps or other parts.
In this case, attempting a KitchenAid dishwasher drain pump test is the smartest decision to diagnose and solve the issue.
This will not only keep you from making mistakes, but it will also help you quickly identify and resolve the issue.
In the following, we have described two different ways to test the KitchenAid dishwasher drain pump and other components.
Kitchenaid Dishwasher Drain Pump Test
Tools needed
To perform the KitchenAid dishwasher drain pump test, you’ll require these tools:
- A screwdriver
- A multimeter
Continuity Test
Disconnect Power
Undoubtedly, you must unplug the dishwasher from the electric outlet before you take any steps.
Lay The Unit On The Side
Position the dishwasher on its side so you can get easy access to the base plate and remove it efficiently.
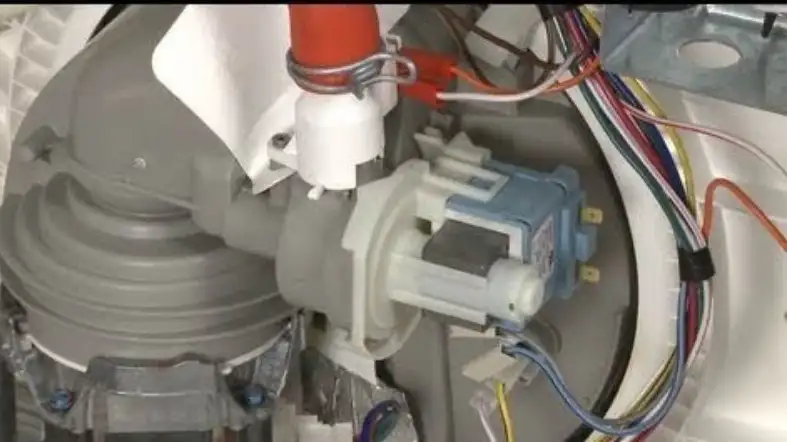
Most KitchenAid dishwashers include the drain pump on their lower success panel or behind the lower side. Unscrew the base plate with a screwdriver.
Remove The Pump

Check for the connector that may prevent you from removing the drain pump. If you find any, disconnect it first to remove the drain pump efficiently.
In the kitchenaid dishwasher, there should be a two-wire connector that you’ll have to unplug. Once done, hold the drain pump’s body.
Then rotate the drain pump like a quarter twists so the drain pump comes off.
Run The Kitchenaid Dishwasher Drain Pump Test
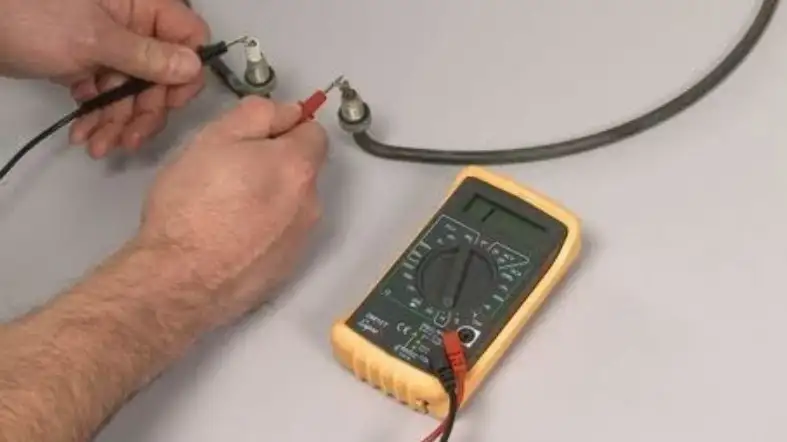
After removing the drain pump, take a multi-meter and touch the terminal of the pump with it. This will let you test the continuity, which should be zero or almost close to it.
Another part of the drain pump to test is its metal frame.
Touch one probe to the bare metal frame of the dishwasher, keeping the other lead attached to a terminal. Again, this part shouldn’t have any continuity.
If your drain pump passes both of the tests, it means it is in good shape. It also means the drainage problem is caused by other sources.
But if your drain pump drains any of these tests, you have to replace the dump to restore the drainage performance.
Resistance Test
Instead of checking the continuity, you can also check the resistance of your KitchenAid dishwasher.
It is also a simple and reliable process to attempt. In case you aren’t satisfied with the previous test, this one will boost your confidence.
In this process, you have to check the resistance of the drain pump based on the wiring schematic that specifies certain contacts of the dishwasher.
If you don’t find any, you have to replace the drain pump to fix the drainage issue.
Alternative Parts To Check
As mentioned, if your drain pumps pass both of the tests and still experience drainage problems, you must check the other parts.
The following are some Kitchenaid dishwasher parts that can cause drainage problems:
Impeller Motor
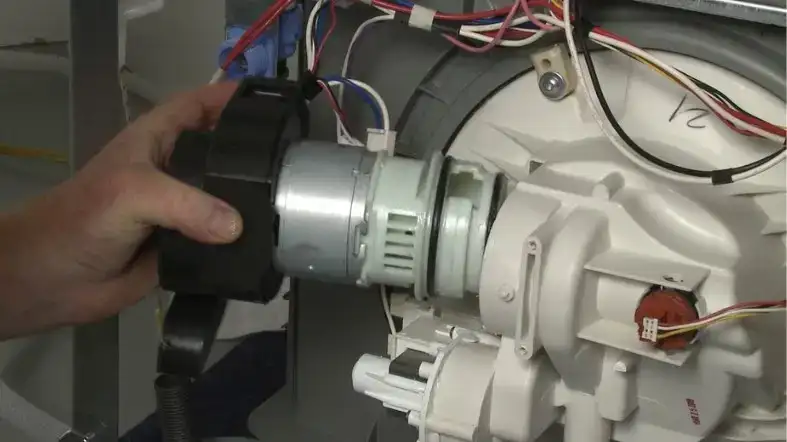
The impeller motor in the pump moves water through the drain hose, which can be a potential source of the problem.
To check it, the supply requires electricity to run the motor and inspects whether it is spinning or not.
To supply electricity, attach a properly modified power cord to the impeller motor and connect it to an outlet.
If the impeller motor doesn’t spin, it means it has been damaged and you have to either repair or replace it.
Impeller Housing
If the impeller motor spins properly, then target the impeller housing.
While inspecting the housing, if you find any foreign objects like tiny ceramic or glass chips in there, remove them.
The reason is that these particles possibly jammed your impeller and prevented it from turning smoothly, creating drainage issues.
And hopefully, removing the chips will let your KitchenAid dishwasher run in normal condition.
The Check Valve
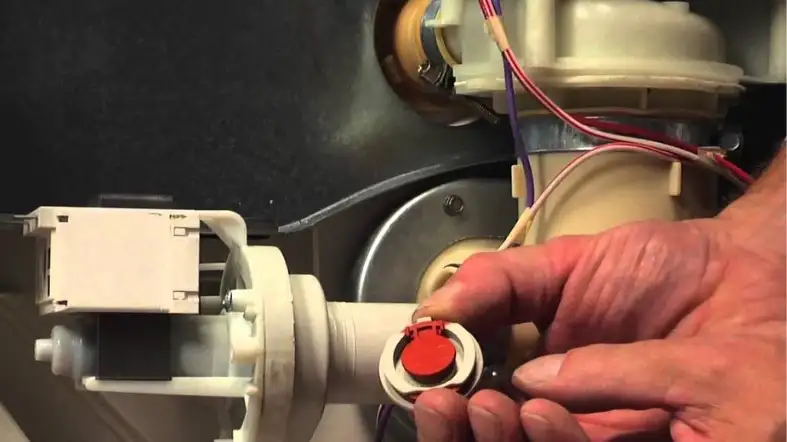
The check valve is a part of the drain hose and is usually placed inside a rubber elbow to connect the pump’s housing.
This part of a dishwasher sometimes becomes stuck and may cause a drainage problem. So it’s wise to inspect the check valve too.
Drain Hose
Many KitchenAid dishwasher owners troubleshoot their drainage issues by checking and clearing the drain hose.
So it’s a good idea to check the drain hose and look for any clogs. To do so, remove the drain hose and push air inside of it to see if it is jammed.
If you find any obstruction inside of the drain hose, remove it immediately and re-check the draining system.
Remember, particles can be found in both the input and output of the drain hose.
Try A Reset
It may sound unusual, but sometimes all you need to do is reset the KitchenAid dishwasher to restore its draining system.
To reset your dishwasher, remove the front panel of the machine except for the whole door. Then disconnect the circuit board and wait for a few minutes.
After that, reconnect the circuit board and place the panel in its actual spot.
Run a cycle on your dishwasher and observe its performance. The drainage problem should be solved.
Instead of disconnecting the circuit board, you can also press the “heat dry buttons” and “high temp scrub” five times to reset the unit.
FAQs
How To Determine If The Dishwasher’s Drain Pump Gets Clogged?
Firstly, discover the location of the drain pump by reading its user manual.
If find any, remove the drain hose from the drain pump.
To check the clog, blow air through the drain hose.
If the air doesn’t pass through, look at the particles inside the hose and remove them to clear the hose.
How To Know If The Drain Pump Of The Dishwasher Gets Damaged?
If you notice the machine doesn’t drain the water successfully or the dishwasher stops mid-cycle while it is full of water, it means its drain pump has been damaged.
Final words
Your KitchenAid dishwasher can stop draining properly for plenty of reasons.
In this case, performing a KitchenAid dishwasher drain pump test is the initial step to take, which might not be the last.
That’s why we listed all the other parts that can affect the drainage system.
It means that even if the pump test fails, you can still try the alternatives to fix the problem successfully.
