Instant Pot Brisket
Nothing beats the incredible smell of tender, juicy brisket filling your kitchen! This amazing Instant Pot brisket is perfect for busy families who want restaurant-quality meat without spending all day cooking – you’ll have fall-apart tender brisket in under 3 hours.

Recipe Details
Timing & Servings: Prep Time: 50 minutes, Additional Time: 1 hour 55 minutes, Total Time: 2 hours 45 minutes, Serves: 10 people.
Nutrition Profile: Low-Carb, Nut-Free, Dairy-Free, Healthy Aging, Healthy Immunity, Soy-Free, Egg-Free, Gluten-Free.
Nutrition Facts (per serving): 203 Calories, 7g Fat, 5g Carbs, 29g Protein.
Ingredients You’ll Need
Beef brisket: You’ll need one 3-pound brisket, cut in half crosswise so it fits perfectly in your Instant Pot. Ask your butcher to cut it for you if needed!
Salt: Just 1 teaspoon of regular table salt works great here. This helps create that beautiful crust when we sear the meat.
Ground pepper: 1 teaspoon of freshly ground black pepper adds the perfect amount of warmth and spice.
Paprika: 1 teaspoon gives our brisket a gorgeous color and subtle smoky flavor that everyone will love.
Extra-virgin olive oil: 2 teaspoons is all you need for searing. You can use regular olive oil if that’s what you have on hand.
Red onions: 2 medium onions cut into 8 wedges each create the most amazing sauce base. They get so sweet and tender!
Garlic: 6 cloves smashed with the side of your knife release incredible flavor into the cooking liquid.
Beef broth: 1 cup of good quality beef broth makes everything taste rich and meaty.
Ketchup: ¼ cup adds just the right touch of sweetness and helps thicken our sauce beautifully.
Tomato paste: 1 tablespoon of tomato paste deepens the flavor and gives our sauce that gorgeous rich color.
How to Make Instant Pot Brisket

Step 1: Sprinkle your brisket pieces all over with salt, pepper, and paprika. Select the Sauté setting on your Instant Pot and choose High temperature. Add the olive oil and let it heat up for 2-3 minutes until it shimmers.
Step 2: Add one brisket piece to the hot oil. Cook until it’s beautifully browned, about 7 minutes per side. Remove it and repeat with the second piece – this step creates amazing flavor!
Step 3: Add your onion wedges and smashed garlic to the pot. Cook them, stirring occasionally, until they start to brown, about 4 minutes. The smell will be incredible!
Step 4: Pour in the beef broth, ketchup, and tomato paste. Scrape the bottom of the pot really well to get all those tasty browned bits loose. Return both brisket pieces to the pot and press Cancel.
Step 5: Cover and lock the lid in place. Turn the steam release handle to Sealing position. Select Manual/Pressure Cook setting on High pressure for 60 minutes. It takes about 10-12 minutes to come to pressure first.
Step 6: When cooking finishes, let the pressure release naturally for 10 minutes. Then carefully turn the steam release handle to Venting and let all the steam escape completely.
Step 7: Remove the brisket to a cutting board and let it rest for 10 minutes. Meanwhile, use an immersion blender to blend the onion mixture in the pot until it’s super smooth, about 30 seconds.
Step 8: Remove and throw away the fat cap from the brisket. Slice the meat against the grain – this is super important for tender bites! Return the slices to the sauce in the cooker.
Step 9: Cover and lock the lid again. Set to Sealing position and pressure cook on High for 3 more minutes. Let pressure release naturally for 10 minutes, then vent completely.
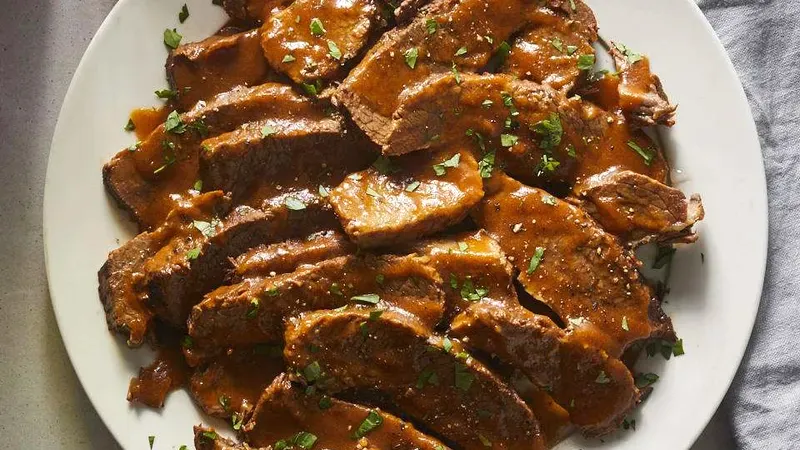
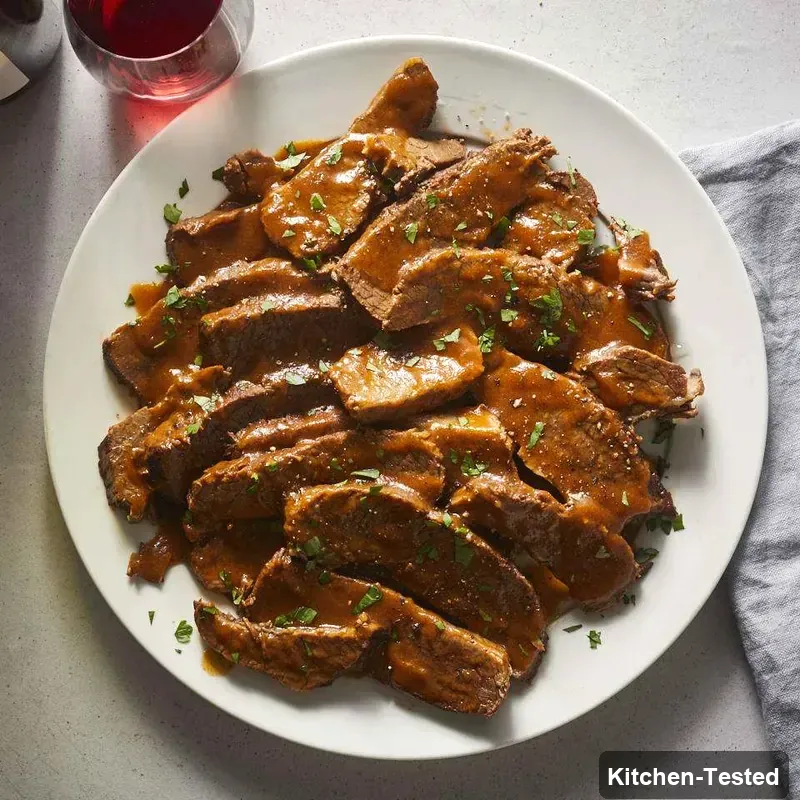
Step 10: Arrange your beautiful brisket slices on a platter and spoon that amazing onion sauce all over the top. Get ready for some serious compliments!
Easy and Quick Instant Pot Brisket Version
Want to save some time? You can skip the searing step if you’re in a hurry! Just season the brisket and put everything right into the pot together. You’ll still get delicious, tender meat – it just won’t have quite as deep a flavor. Cook for the same 60 minutes, then follow the rest of the steps exactly the same way.
Serving Ideas
This tender brisket makes a complete, satisfying meal all on its own! I love serving it with creamy mashed potatoes or buttery egg noodles to soak up that incredible sauce. Roasted carrots or steamed green beans make perfect colorful sides that complement the rich, savory flavors beautifully.
Storage
Store your leftover brisket in the fridge for up to 4 days in a covered container. To reheat, just warm it gently in the microwave for 1-2 minutes or on the stovetop over medium-low heat until heated through. The meat actually gets even more tender and flavorful the next day!
Substitutions
No red onions? Yellow or white onions work just as well! Don’t have beef broth? You can use chicken broth or even vegetable broth in a pinch. If you’re out of ketchup, try using 2 tablespoons of brown sugar mixed with 2 tablespoons of tomato paste instead.
Pro Tips
- Always slice against the grain: Look for the lines in the meat and cut perpendicular to them for the most tender bites.
- Don’t skip the searing: Those browned bits add incredible flavor to your final sauce.
- Let it rest: That 10-minute rest time helps the juices redistribute through the meat.
- Use natural pressure release: Quick release can make the meat tough, so be patient with the natural release.
- Make it ahead: This brisket actually tastes even better the next day, so it’s perfect for meal prep!
FAQs
Can I use a different cut of meat?
Sure! Chuck roast works really well with this same recipe and cooking time. Just make sure it’s about the same size so the cooking time stays accurate.
What if my brisket is bigger than 3 pounds?
You bet you can use a larger brisket! Add about 15-20 minutes to the first pressure cooking time for every extra pound. The second 3-minute cook stays the same.
Can I make this without an immersion blender?
Absolutely! You can carefully transfer the onion mixture to a regular blender, or just mash it up with a fork for a chunkier sauce. Both ways taste fantastic!
Is this recipe freezer-friendly?
Yes! This brisket freezes beautifully for up to 3 months. Just thaw it overnight in the fridge and reheat gently. The texture stays perfect!
Final Thoughts
I hope your family loves this tender, flavorful brisket as much as mine does! It’s become one of our go-to Sunday dinners because it’s so easy and always turns out perfect. Let me know how yours turns out – I love hearing about your cooking adventures!