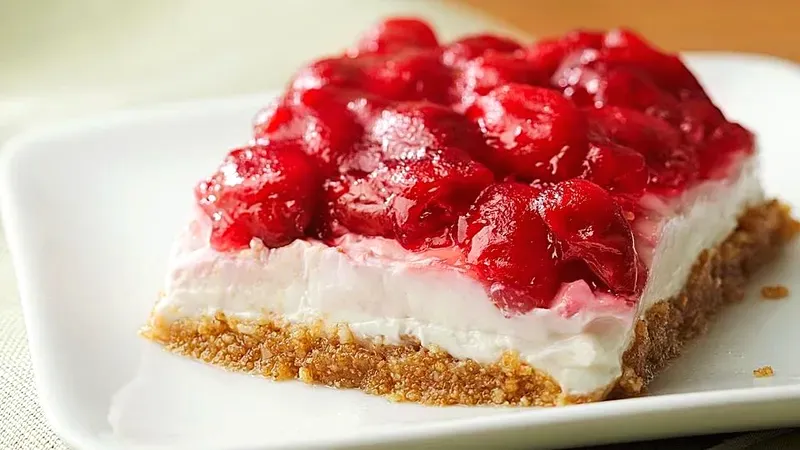
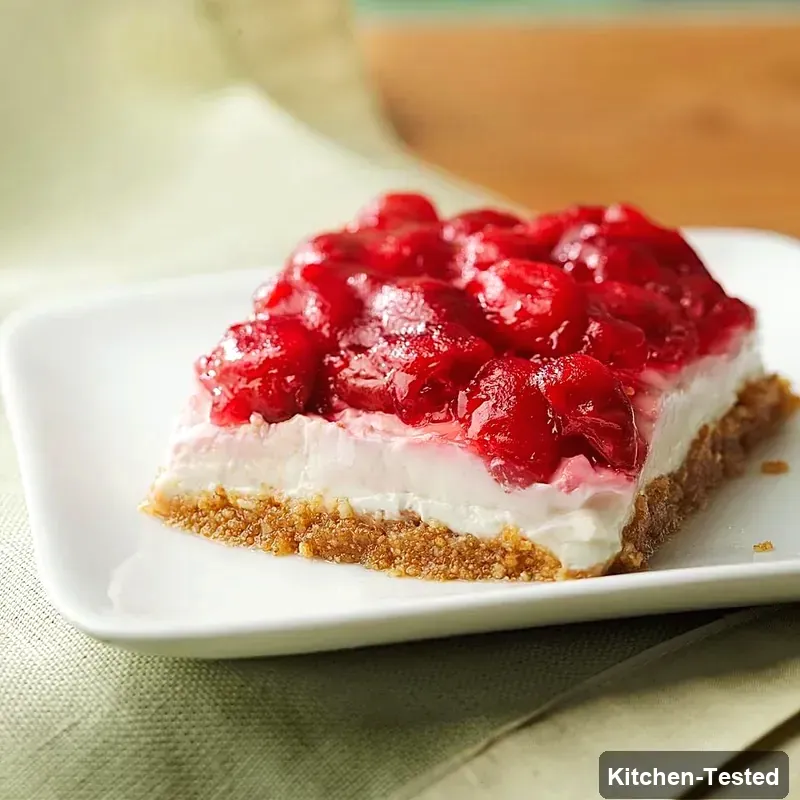
No-Bake Cherry Cheesecake
This gorgeous no-bake cherry cheesecake is perfect for anyone who wants a stunning dessert without turning on the oven! Your family and friends will be amazed by how creamy and delicious this is, plus you’ll love how simple it is to make on hot summer days.

Recipe Details
Timing & Servings: Cook Time: 40 minutes, Additional Time: 3 hours, Total Time: 3 hours 40 minutes, Serves: 12 people.
Nutrition Profile: Low-Sodium
Nutrition Facts (per serving): 349 Calories, 17g Fat, 42g Carbs, 9g Protein
Ingredients You’ll Need
Cherries: You’ll need 4 cups of halved pitted sour or sweet cherries, either fresh or frozen (just thaw and drain them first). Sweet cherries give you a beautiful purple color while sour cherries create that bright red look!
Granulated sugar: ¾ cup total, but we’ll divide this up – ½ cup goes with the cherries and ¼ cup goes in the crust. This gives just the right amount of sweetness throughout.
Water: You’ll need ¼ cup plus 4 teaspoons total. Most goes with the cherries, and a little bit helps mix the cornstarch.
Cornstarch: Just 2 tablespoons to thicken up that gorgeous cherry topping. It works like magic!
Graham crackers: Half of a 14-ounce box, and whole-wheat ones are great if you have them. These make the perfect crunchy base.
Walnuts: ½ cup chopped and toasted for extra flavor and crunch in the crust. Don’t skip the toasting – it makes such a difference!
Neutral oil: ⅓ cup of canola or avocado oil to bind the crust together. Either one works perfectly.
Cream cheese: Two 8-ounce packages of reduced-fat cream cheese (Neufchâtel), softened. Make sure it’s really soft so your filling stays smooth!
Greek yogurt: 2 cups of nonfat plain or vanilla Greek yogurt. This keeps the cheesecake light and adds extra protein.
Confectioners’ sugar: 6 tablespoons for the perfect amount of sweetness in the filling. It blends in so smoothly!
Vanilla extract: 1 teaspoon to bring all those flavors together beautifully.
How to Make No-Bake Cherry Cheesecake

Step 1: Put your cherries, ½ cup sugar, and ¼ cup water in a large saucepan. Bring this to a boil over medium-high heat. In a small bowl, mix the cornstarch with 4 teaspoons of water until smooth. Stir this into your bubbling cherry mixture and bring it back to a boil. Turn the heat down to medium and keep stirring for about 1 minute until it looks thick and syrupy. Take it off the heat and set aside.
Step 2: Put your graham crackers in a food processor and pulse until they’re finely ground. Add the walnuts and pulse again until they’re chopped up nice and small. Pour this into a bowl and stir in the remaining ¼ cup sugar. Drizzle the oil over everything and mix until it all sticks together. Press this mixture firmly into the bottom of a 9-by-13-inch baking dish.
Step 3: In a medium bowl, beat the cream cheese, yogurt, confectioners’ sugar, and vanilla with an electric mixer until it’s completely smooth. Make sure to scrape down the sides of the bowl a few times. Spread this creamy mixture evenly over your crust. Spoon the cherry mixture on top and spread it out gently. Cover with plastic wrap and pop it in the fridge for about 3 hours until it’s nice and cold.
Easy and Quick No-Bake Cherry Cheesecake Version
Want to save some time? You can use a pre-made graham cracker crust from the store and skip making your own! Just buy two 9-inch crusts since this recipe is big. You can also use canned cherry pie filling instead of making your own – just use about 2 cans and spread them right on top. This cuts your prep time down to just 15 minutes!
Serving Ideas
This cheesecake is absolutely perfect on its own as a complete dessert! It’s rich and satisfying, so you don’t need much else. If you want to make it extra special, add a dollop of whipped cream or serve it with some fresh mint leaves for a pop of color.
Storage
Keep your cheesecake covered in the fridge for up to 3 days. It actually tastes even better the next day after all the flavors have had time to blend together! You can make this up to 1 day ahead, which makes it perfect for parties and get-togethers.
Substitutions
No walnuts? Try pecans or almonds instead – they’re just as delicious! If you can’t find Greek yogurt, regular sour cream works great too. Want to make this gluten-free? Just swap in gluten-free graham crackers and you’re all set. You can even use frozen cherries year-round if fresh ones aren’t available.
Pro Tips
- Cherry pitting made easy: Use a cherry pitter if you have one, or just poke the pit out with the tip of a knife or vegetable peeler!
- Perfect toasted walnuts: Toast them in a dry skillet over medium-low heat for 2-4 minutes, stirring constantly until they smell amazing and turn golden.
- Smooth filling secret: Make sure your cream cheese is really soft before mixing – this prevents lumps!
- Color choice: Sour cherries give you that bright red color, while sweet cherries create a beautiful purple hue.
- Clean cuts: Dip your knife in warm water between cuts for the prettiest slices.
FAQs
Can I use frozen cherries for this recipe?
You bet! Just make sure to thaw them completely and drain off any extra liquid before using them. Frozen cherries work just as well as fresh ones and make this recipe possible year-round.
How long does this cheesecake need to chill?
It needs at least 3 hours to set properly, but overnight is even better! The longer it chills, the firmer and more delicious it becomes.
Can I make individual servings instead?
Sure! Just divide everything between 12 small glasses or ramekins. Layer the crust, then the cream cheese mixture, then top with cherries. They’ll need the same chilling time.
What if I don’t have a food processor for the crust?
No worries! Put the graham crackers in a sealed bag and crush them with a rolling pin. Chop the walnuts by hand as finely as you can. It takes a little more work but works perfectly!
Can I make this dairy-free?
You can try using dairy-free cream cheese and coconut yogurt, though the texture might be a little different. It’s still delicious, just not quite as creamy as the original version.
I hope you love this no-bake cherry cheesecake as much as my family does! It’s become our go-to summer dessert because it’s so easy and always gets rave reviews. Let me know how yours turns out – I’d love to hear about any fun variations you try!