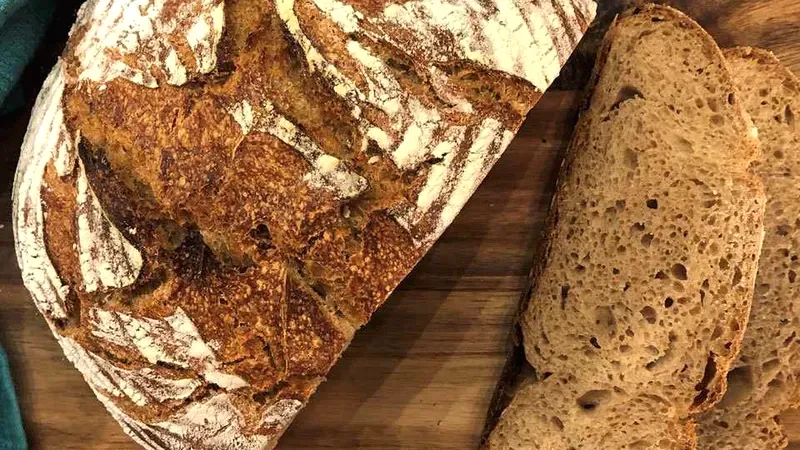
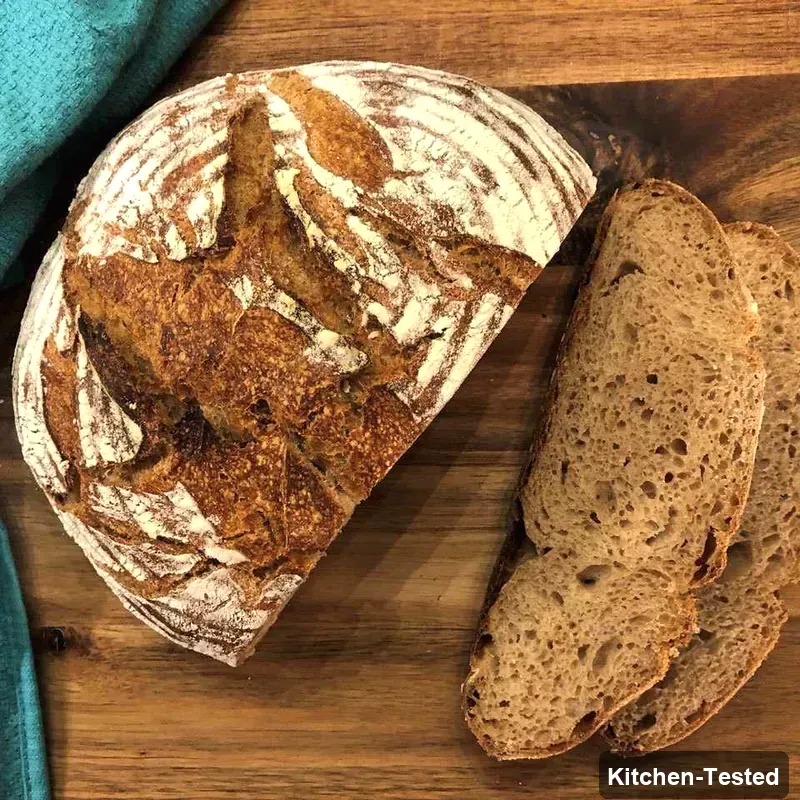
Whole-Wheat Sourdough Bread
There’s nothing quite like the smell of fresh sourdough bread baking in your kitchen! Anyone who loves homemade bread will absolutely fall in love with this recipe. You’ll get that perfect tangy flavor and crusty texture that rivals any bakery loaf.

Recipe Details
Timing & Servings: Prep Time: 1 hour, Additional Time: 23 hours, Total Time: 1 day, Serves: 24 people, Yield: 2 loaves.
Nutrition Profile: Nut-Free, Low-Fat, Soy-Free, High-Fiber, Vegan, Vegetarian, Egg-Free, Low-Calorie.
Nutrition Facts (per serving): 175 Calories, 1g Fat, 37g Carbs, 6g Protein.
Ingredients You’ll Need
Whole-wheat sourdough starter: You’ll need ½ cup (about 8 ounces) of active, bubbly starter. This is what gives your bread that amazing tangy flavor!
Water: You’ll use water in two parts – ½ cup for the levain and 2¾ cups plus 2 tablespoons of warm water (85-90°F) for the dough. The warm temperature helps activate everything perfectly.
All-purpose flour: You’ll need 1/3 cup plus 1 tablespoon for the levain, plus 3 1/3 cups plus 1 tablespoon (about 1 pound, 3 ounces) for the main dough, plus extra for dusting. This gives structure to your bread.
Whole-wheat flour: Use 1/3 cup plus 1 tablespoon for the levain and 2¼ cups (12 ounces) for the dough. This adds that nutty, hearty flavor we all love.
Salt: Just 1 tablespoon, but it makes such a difference in bringing out all the flavors!
How to Make Whole-Wheat Sourdough Bread

Step 1: Start by making your levain. Mix the starter, ½ cup water, 1/3 cup plus 1 tablespoon all-purpose flour, and 1/3 cup plus 1 tablespoon whole-wheat flour in a medium bowl. Cover it loosely and let it sit in a warm spot for 4 to 6 hours until it’s bubbly and doubled in size.
Step 2: Time to make the dough! Combine 3 1/3 cups plus 1 tablespoon all-purpose flour and 2¼ cups whole-wheat flour in your stand mixer bowl with the dough hook. Turn it to the lowest speed and slowly add the warm water. Mix on low for just 20 to 30 seconds until the flour is moist. Don’t overmix!
Step 3: Cover the mixing bowl and let it rest for 20 minutes. This lets the water completely hydrate the flour, which makes mixing easier.
Step 4: Remove the cover and turn the mixer on low. Add the salt first, then spoon in your bubbly levain from Step 1. Mix until everything comes together, about 2 minutes.
Step 5: Transfer your dough to a large 10-12 quart plastic container. Now comes the fun part – folding! Reach under one end of the dough, pull up until you feel resistance, then stretch it over the top and drop it. Turn the container a quarter turn and repeat. Do this 4 times total, then cover and let it rest for 30 minutes.
Step 6: Repeat the folding process 4 more times, every 20 minutes. This builds the gluten and makes your bread nice and chewy. After the last fold, cover and let it rise until doubled, which takes 6 to 12 hours.
Step 7: Flour two medium bowls or proofing baskets really well. Turn your dough onto a floured surface, sprinkle flour on top, and split it in half. With floured hands, roll each half into a ball and place them in the prepared bowls. Cover with a clean kitchen towel.
Step 8: Let the dough rise until puffy, 2 to 4 hours. To test if it’s ready, gently press with a floured finger. If it springs back quickly, it needs more time. If it doesn’t spring back, you’re ready to bake!
Step 9: Put a large cast-iron pot with its lid in the oven and preheat to 475°F. Once it reaches temperature, wait at least 20 minutes for the pot to heat up completely.
Step 10: Carefully remove the hot pot and take off the lid. With floured hands, pick up one loaf and gently place it in the pot. You can drop it from 3-4 inches to avoid burning yourself. Put the lid back on and bake for 30 minutes.
Step 11: Remove the lid and continue baking until the bread is beautifully browned, about 15 more minutes. While the first loaf bakes, put the second one in the fridge.
Step 12: Transfer the finished bread to a wire rack and let it cool for at least 30 minutes before cutting. Trust me, it’s worth the wait! Repeat the baking process for your second loaf.
Easy and Quick Whole-Wheat Sourdough Version
Want to speed things up a bit? You can use a more active starter and keep your dough in a warmer spot to cut down on rising times! Try placing your dough near a warm oven or on top of the fridge. This can reduce your bulk fermentation from 12 hours to about 6-8 hours. You’ve still got that amazing homemade taste with less waiting around!
Serving Ideas
This bread is absolutely perfect on its own with some good butter! It makes amazing toast for breakfast or incredible sandwiches for lunch. Try it with creamy soup, fresh salad, or your favorite cheese and charcuterie board. The tangy flavor pairs beautifully with both sweet and savory toppings.
Storage
Store your cooled bread in a paper bag or bread box at room temperature for up to 3 days. For longer storage, slice and freeze for up to 3 months. To reheat, just pop frozen slices right in the toaster, or warm whole loaves in a 350°F oven for 10 minutes.
Substitutions
You can swap the whole-wheat flour for spelt flour or rye flour for different flavors. If you don’t have a stand mixer, you can mix everything by hand – just be prepared for a good arm workout! Sea salt works great instead of regular table salt, and it adds a nice mineral taste.
Pro Tips
- Use a kitchen scale: Weighing your ingredients gives you much more consistent results than measuring cups.
- Temperature matters: Keep your dough between 75-80°F for the best rise times.
- Don’t skip the cooling: Hot bread is hard to slice and gets gummy. Let it cool completely for the best texture.
- Steam is key: That covered pot creates steam, which gives you that perfect crusty exterior.
- Practice makes perfect: Don’t worry if your first loaf isn’t perfect – sourdough gets better with practice!
FAQs
Can I make this without a stand mixer?
You bet! You can mix everything by hand in a large bowl. It’ll take a bit more elbow grease, but the results are just as delicious. Just mix until everything comes together – don’t worry about making it perfectly smooth.
What if I don’t have a cast-iron pot?
No worries! You can use any heavy, oven-safe pot with a tight-fitting lid. A ceramic Dutch oven works great too. Just make sure it can handle 475°F temperatures.
How do I know if my starter is ready?
Your starter should double in size within 4-8 hours of feeding and have a pleasant, tangy smell. It should also pass the float test – a spoonful should float in water when it’s at peak activity.
Can I add seeds or nuts to this bread?
Sure! Add up to ½ cup of seeds, nuts, or dried herbs during the final mixing stage. Sunflower seeds, pumpkin seeds, or rosemary all work beautifully in this recipe.
Why is my bread dense?
Usually this happens when the starter isn’t active enough or the dough didn’t rise long enough. Make sure your starter is bubbly and active, and don’t rush the rising times – good bread takes patience!
I’d love to hear how your sourdough adventure goes! Drop a comment and let me know if you tried any fun variations. There’s nothing quite like sharing the joy of homemade bread with friends and family. Happy baking!