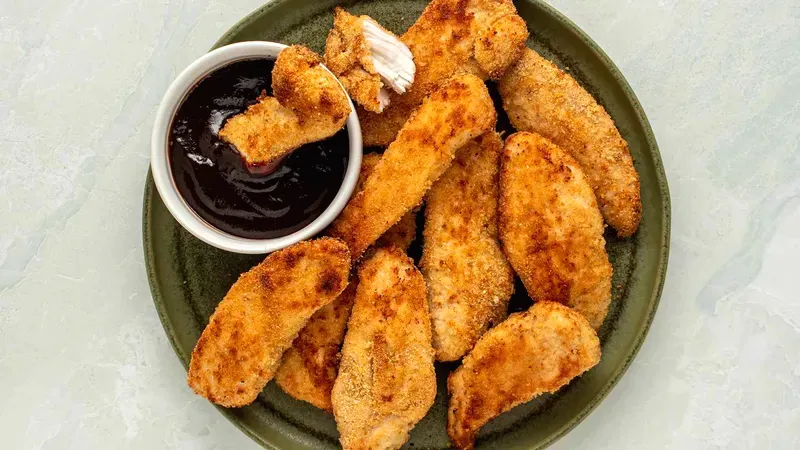
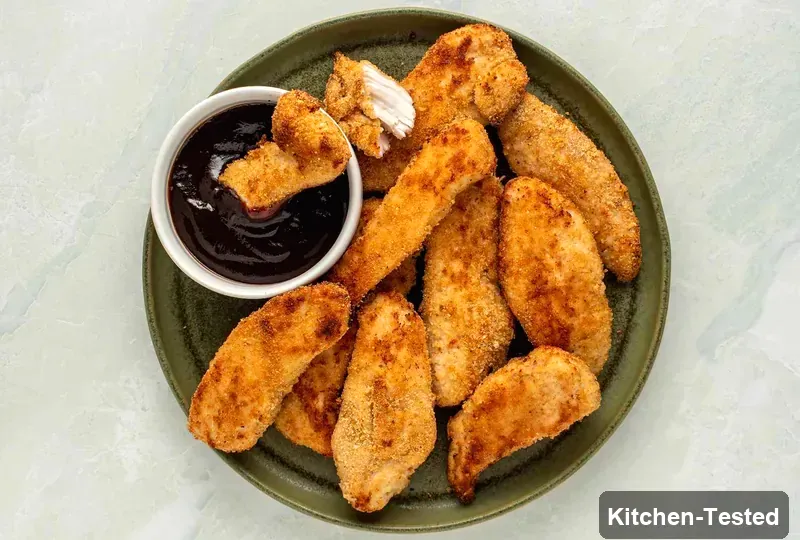
Crispy Baked Chicken Tenders
These golden, crispy chicken tenders will make your whole family smile at dinner time! Kids and adults absolutely love these tender, juicy strips that are way healthier than the fried version. Plus, they’re ready in just 35 minutes and packed with protein to keep everyone satisfied.

Recipe Details
Timing & Servings: Prep Time: 20 minutes, Additional Time: 15 minutes, Total Time: 35 minutes, Serves: 4 people.
Nutrition Profile: Low-Carb, Nut-Free, Low-Fat, Soy-Free, High-Protein, Low-Calorie.
Nutrition Facts (per serving): 207 Calories, 3g Fat, 11g Carbs, 32g Protein.
Ingredients You’ll Need
Nonstick cooking spray: This helps create that perfect golden crust without adding extra calories. You’ll use it twice – once on the pan and once on top of the chicken strips!
Chicken breast halves: You’ll need 4 skinless, boneless pieces (about 1 to 1¼ pounds total). Each breast gets cut into 3 strips, so you’ll have 12 perfect tender-sized pieces.
Egg whites: Just 2 egg whites, lightly beaten. These help the coating stick beautifully to the chicken and keep things light and healthy.
Water: One tablespoon mixed with the egg whites makes the perfect coating mixture.
Lemon peel: One teaspoon of finely shredded lemon peel adds the most amazing fresh, zesty flavor that makes these tenders special.
Seasoned breadcrumbs: Half a cup of seasoned fine dry breadcrumbs gives you that crispy coating everyone craves.
Parmesan cheese: A quarter cup of finely shredded Parmesan adds rich, savory flavor and helps create that golden-brown finish.
Barbecue sauce: Quarter cup of bottled low-calorie barbecue sauce is optional but so good for dipping!
How to Make Crispy Baked Chicken Tenders

Step 1: Preheat your oven to 400°F. Line a large rimmed baking sheet with parchment paper. Give it a light coating with cooking spray and set aside. Cut each chicken breast lengthwise into 3 even strips.
Step 2: Grab a small bowl and beat together the 2 egg whites, 1 tablespoon water, and 1 teaspoon lemon peel. In another small bowl, stir together the breadcrumbs and Parmesan cheese until well mixed.
Step 3: Dip each chicken strip in the egg white mixture first. Then roll it in the breadcrumb mixture, turning to coat all sides completely. Arrange the coated strips on your prepared baking sheet. Give the chicken strips one more light spray with cooking spray.
Step 4: Bake for about 15 minutes or until the chicken is no longer pink and reaches 165°F. Turn the strips once halfway through baking to get both sides golden. Serve with barbecue sauce if you’d like!
Easy and Quick Crispy Baked Chicken Tenders Version
Want to make this even faster? You can skip making your own breadcrumb mixture and use 3/4 cup of store-bought Italian seasoned breadcrumbs instead! Just add 2 tablespoons of grated Parmesan to the store-bought crumbs. This saves you about 5 minutes of prep time and still tastes amazing.
Serving Ideas
These crispy tenders make a complete and satisfying meal that everyone will love. Serve them with roasted sweet potato fries and steamed broccoli for a colorful, healthy dinner. They’re also perfect with a fresh garden salad or some crispy oven-baked regular fries.
Storage
Store leftover tenders in an airtight container in the refrigerator for up to 3 days. To reheat and keep them crispy, use your air fryer or toaster oven for 3-4 minutes. Skip the microwave since it will make the coating soggy.
Substitutions
No lemon peel? Try orange peel or just skip it – they’ll still taste great! You can swap the Parmesan for any hard cheese you have on hand. Regular breadcrumbs work fine if you don’t have seasoned ones – just add a pinch of garlic powder and Italian seasoning.
Pro Tips
Perfect Temperature: Use a meat thermometer to check that internal temperature hits 165°F. This keeps your chicken safe and perfectly juicy.
Extra Crispy Secret: That second spray of cooking spray on top of the breaded chicken is key for getting them golden and crispy!
Freezer Friendly: Double or triple this recipe and freeze the extras for up to 9 months. Just wrap them well and thaw overnight in the fridge when you’re ready to eat them.
Even Cooking: Make sure all your chicken strips are about the same thickness so they cook evenly. If some pieces are thicker, just pound them gently with a meat mallet.
FAQs
Is there a reason to bake chicken at 400°F vs. 350°F?
You bet! While baking chicken at 350°F gives you moist and tender results, we found that using a higher oven temperature with a shorter cooking time is the secret to achieving crispy chicken tenders. The higher heat helps create that golden, crunchy coating we all love.
How should I store and reheat leftovers?
Sure! Place the tenders in an airtight container and store them in the refrigerator where they’ll stay good for about 3 days. To reheat them and keep that crispiness, use an air fryer or toaster oven. Don’t use the microwave since it will steam the breading and make it soggy.
Can I freeze chicken tenders?
Absolutely! This recipe is perfect for doubling or tripling and storing in the freezer for future meals. When packed properly, the chicken can stay good for up to 9 months. Let the chicken cool completely, then wrap it tightly in plastic wrap and place it in a freezer-safe bag. When you’re ready to eat them, just thaw overnight in the fridge.
What should I serve with baked chicken tenders?
These tenders are amazing with low-calorie barbecue sauce, but you can also serve them with honey-mustard dipping sauce, ranch dressing, or any sauce your family loves. Round out your meal with crispy oven-baked fries, sweet potato fries, or some simple roasted vegetables.
I hope your family loves these crispy baked chicken tenders as much as mine does! Let me know in the comments how they turned out for you – I always love hearing about your cooking adventures. Happy cooking, friend!