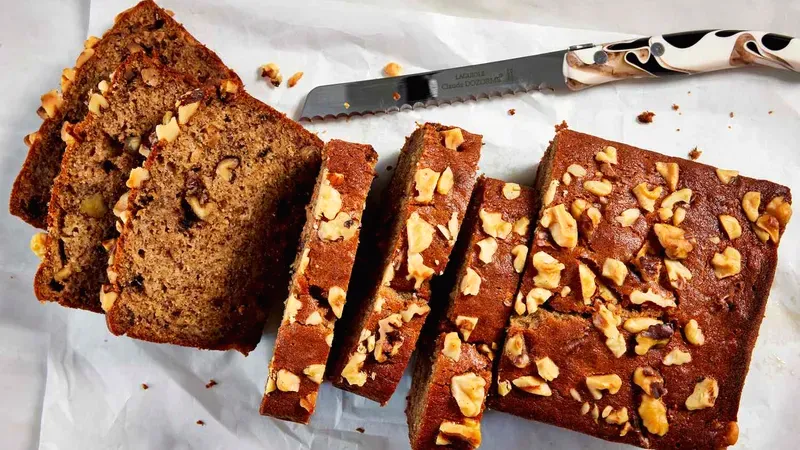
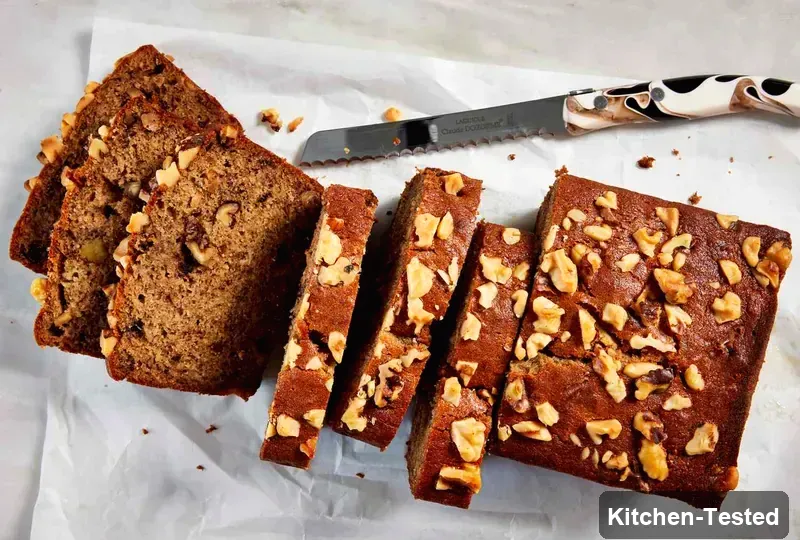
Perfect Banana Nut Bread
There’s nothing quite like the smell of homemade banana bread filling your kitchen with warmth and comfort. This recipe creates the most tender, moist loaf that your whole family will absolutely love. Plus, it’s a fantastic way to use up those overripe bananas sitting on your counter!

Recipe Details
Timing & Servings: Active Time: 15 minutes, Total Time: 1 hour 45 minutes, Serves: 16 people
Nutrition Profile: Soy-Free, Vegetarian, Low-Calorie
Nutrition Facts (per serving): 201 Calories, 11g Fat, 24g Carbs, 3g Protein
Ingredients You’ll Need
All-purpose flour: You’ll need ¾ cup, which gives you that perfect tender texture. This is your base that holds everything together beautifully.
Whole-wheat flour: Another ¾ cup adds a lovely nutty flavor and makes the bread a bit healthier. Don’t worry – you won’t even taste the difference!
Baking soda: Just 1 teaspoon helps your bread rise and get fluffy. Make sure it’s fresh for the best results.
Ground cinnamon: ½ teaspoon brings that warm, cozy spice we all love. It pairs so perfectly with bananas.
Salt: ¼ teaspoon enhances all the other flavors. Never skip this little flavor booster!
Ground nutmeg: Just ⅛ teaspoon adds a subtle warmth. It’s like a secret ingredient that makes people wonder what makes your bread so special.
Granulated sugar: ¾ cup sweetens everything up just right. The bananas add natural sweetness too, so this is the perfect amount.
Unsalted butter: ¼ cup (that’s half a stick) should be nice and soft. This creates that rich, tender crumb we’re after.
Large eggs: You’ll need 2 eggs to bind everything together and add richness. Room temperature eggs work best if you remember to take them out early.
Neutral oil: ¼ cup of canola or avocado oil keeps the bread super moist. This is the secret to banana bread that stays fresh for days!
Vanilla extract: 1 teaspoon adds that sweet, warm flavor that makes everything taste homemade. Pure vanilla is worth it here.
Very ripe bananas: 3 large bananas that are really spotty and soft work best. The riper they are, the sweeter and more flavorful your bread will be!
Whole-milk plain yogurt: ¼ cup makes the bread extra tender and moist. Greek yogurt works great too if that’s what you have.
Chopped walnuts: ¾ cup total, and we’ll toast them for extra crunch and flavor. You can use pecans instead if you prefer!
How to Make Perfect Banana Nut Bread

Step 1: Preheat your oven to 350°F and get your 9-by-5-inch loaf pan ready. Spray it lightly with cooking spray, then line it with parchment paper. Leave about 2 inches hanging over the long sides – this makes it super easy to lift out later!
Step 2: In a small bowl, whisk together both flours, baking soda, cinnamon, salt, and nutmeg. Set this aside – we’ll need it in a few minutes.
Step 3: In a large bowl, beat the sugar and softened butter with an electric mixer on medium speed. Keep going for 3 to 5 minutes until the butter looks lighter and fluffy. This step is really important for a tender bread!
Step 4: Add the eggs one at a time, beating for about 1 minute after each one. Scrape down the sides of the bowl so everything mixes evenly.
Step 5: Beat in the oil and vanilla for about 1 minute until everything looks smooth. Then add those mashed bananas and beat for another minute.
Step 6: Now comes the tricky part – add the yogurt and flour mixture in batches, alternating between them. Beat each addition for just 30 seconds until barely combined. Don’t overmix or your bread will be tough!
Step 7: Use a spatula to gently fold in ½ cup of the toasted walnuts. Pour the batter into your prepared pan and sprinkle the remaining ¼ cup walnuts on top.
Step 8: Bake for 50 to 60 minutes, until a wooden pick inserted in the center comes out clean. Every oven is different, so start checking at 50 minutes!
Step 9: Let the bread cool in the pan for 10 minutes, then use those parchment paper handles to lift it out. Cool completely on a wire rack for about 30 minutes before slicing.
Easy and Quick Perfect Banana Nut Bread Version
Want to speed things up? You can skip the toasting step for the walnuts and just use them straight from the bag! Also, if you don’t have an electric mixer, you can mash the butter and sugar together with a fork – it just takes a bit more elbow grease. The bread will still taste amazing!
Serving Ideas
This banana nut bread is perfect on its own, but it’s also amazing toasted with a little butter. Try serving warm slices with your morning coffee or as an afternoon snack with a glass of cold milk. It makes a complete breakfast when paired with some fresh fruit!
Storage
Store your cooled banana bread wrapped in plastic wrap at room temperature for up to 4 days. For longer storage, wrap it well and freeze for up to 3 months. To reheat, just pop a slice in the toaster or microwave for 15-20 seconds.
Substitutions
No walnuts? Try pecans, almonds, or even chocolate chips instead! You can swap the whole-wheat flour for more all-purpose flour if that’s what you have. Greek yogurt works just as well as regular yogurt, and you can use any neutral oil you prefer.
Pro Tips
- Banana ripeness matters: The more brown spots, the better! Really ripe bananas are sweeter and more flavorful.
- Don’t overmix: Once you add the flour, mix just until you can’t see dry flour anymore. Overmixing makes tough bread.
- Toast those nuts: Place chopped nuts in a dry skillet over medium-low heat for 2-4 minutes, stirring constantly until fragrant.
- Test for doneness: A toothpick should come out with just a few moist crumbs, not wet batter.
- Cool completely: I know it’s hard to wait, but letting it cool completely makes slicing so much easier!
FAQs
Can I make this without nuts?
You bet! Just leave out the walnuts completely, or replace them with the same amount of chocolate chips or dried fruit. The bread will be just as delicious!
Why is my banana bread dense?
This usually happens from overmixing the batter or using bananas that aren’t ripe enough. Make sure to mix just until combined and use really spotty, soft bananas for the best results!
Can I double this recipe?
Sure! You can double everything and make two loaves, or use a larger pan. Just keep an eye on the baking time – it might need a few extra minutes in the oven.
How do I know when it’s done baking?
The top should be golden brown and spring back lightly when touched. A toothpick inserted in the center should come out with just a few moist crumbs. Don’t worry if it takes the full 60 minutes!
I’d love to hear how your banana nut bread turns out! Drop a comment and let me know if you tried any fun variations. Happy baking, friends!