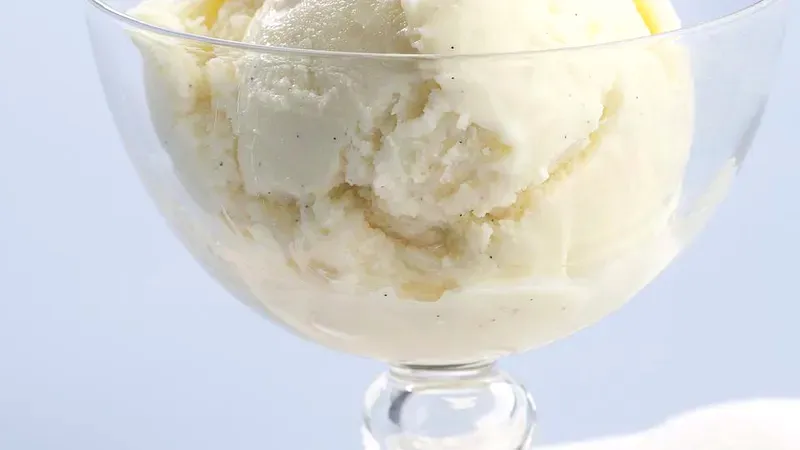
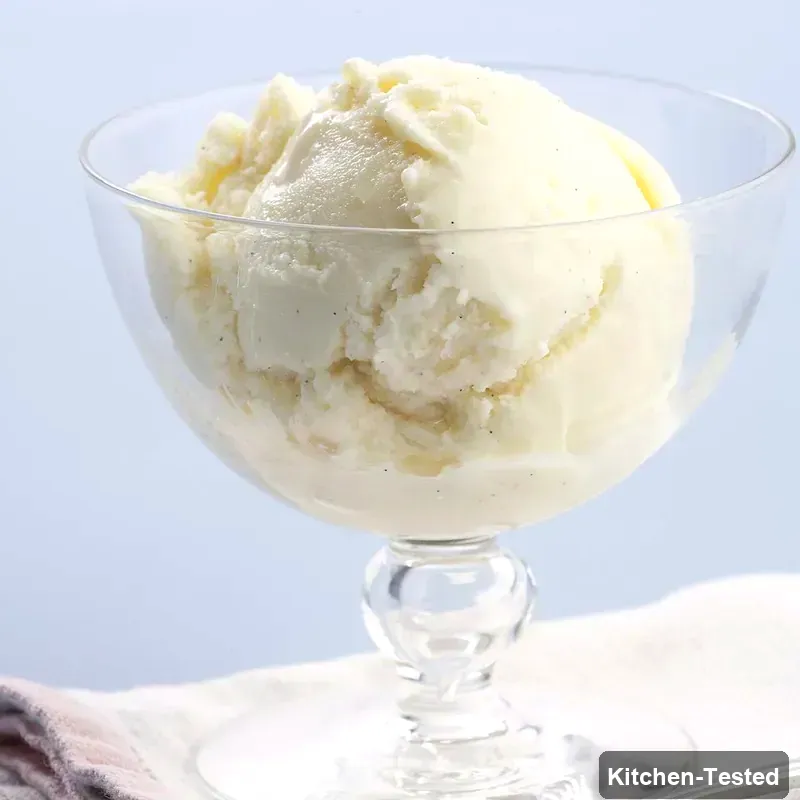
Homemade Vanilla Ice Cream
Nothing beats the creamy, dreamy taste of homemade vanilla ice cream that brings pure joy to kids and adults alike! This healthier version gives you all the rich flavor you crave with 90 fewer calories and 15 grams less fat than store-bought premium ice cream.

Recipe Details
Timing & Servings: Cook Time: 15 minutes, Additional Time: 2 hours 30 minutes, Total Time: 2 hours 45 minutes, Serves: 8 people with 1/2 cup servings (makes 1 quart).
Nutrition Profile: High-Calcium, Bone Health, Low-Sodium, Heart-Healthy, Gluten-Free, Low-Calorie.
Nutrition Facts (per serving): 200 Calories, 3g Fat, 35g Carbs, 8g Protein.
Ingredients You’ll Need
Unflavored gelatin: You’ll need 1½ teaspoons, which helps give your ice cream that perfect creamy texture without any weird flavors. It’s like a secret ingredient that makes everything smooth!
Water: Just 1 tablespoon to bloom the gelatin. Room temperature water works perfectly here.
Low-fat milk: 3 cups total, but you’ll divide this up during cooking. The low-fat version keeps things lighter while still giving you that creamy taste you love.
Large egg yolks: 3 egg yolks create that rich custard base that makes homemade ice cream so much better than store-bought. Save the whites for scrambled eggs tomorrow!
Nonfat sweetened condensed milk: One 14-ounce can brings the sweetness and extra creaminess. This is what makes the ice cream taste so indulgent while keeping it healthier.
Vanilla bean: One whole vanilla bean gives you those beautiful little specks and amazing flavor that vanilla extract just can’t match. So worth it!
How to Make Homemade Vanilla Ice Cream

Step 1: Sprinkle your gelatin over the water in a small bowl. Let it sit and get all puffy while you work on the ice cream base. Give it a stir once or twice.
Step 2: Pour 1½ cups of milk into your large saucepan. Cut that vanilla bean in half the long way. Scrape out all those tiny seeds into the milk and toss the pod in too for extra flavor.
Step 3: Heat the milk mixture over medium heat until you see steam rising. Don’t let it boil! While that’s heating, whisk your egg yolks and condensed milk together in a medium bowl.
Step 4: Here’s the tricky part – slowly pour the hot milk into the egg mixture while whisking constantly. This keeps the eggs from scrambling. Pour it back into the pan.
Step 5: Cook over medium heat, stirring with a wooden spoon for 3 to 5 minutes. You’ll know it’s ready when the mixture coats the back of your spoon lightly. Don’t let it boil or you’ll have scrambled eggs!
Step 6: Strain everything through a fine-mesh sieve into a clean large bowl. Add that softened gelatin and whisk until it melts completely. Whisk in the remaining 1½ cups of cold milk.
Step 7: Cover and pop it in the fridge for at least 2 hours. The colder it gets, the better your ice cream will turn out!
Step 8: Give the mixture a good whisk and pour it into your ice cream maker. Follow your machine’s directions to freeze it up. If it needs more firming, stick it in the freezer before serving.
Easy and Quick Homemade Vanilla Ice Cream Version
Want to skip some steps? You can use 2 teaspoons of vanilla extract instead of the vanilla bean! Just add it right after you strain the custard. You’ll miss those pretty vanilla specks, but the flavor will still be amazing and you’ll save some prep time.
Serving Ideas
This creamy vanilla ice cream is perfect on its own or as the base for so many treats! Serve it with warm apple pie, fresh berries, or a drizzle of chocolate sauce. It’s also amazing in root beer floats or sandwiched between homemade cookies.
Storage
Store your homemade ice cream in an airtight container in the freezer for up to 1 week. Let it sit out for 5-10 minutes before scooping if it gets too hard. The texture is best within the first few days, so enjoy it while it’s at its creamiest!
Substitutions
No vanilla bean? Use 2 teaspoons of pure vanilla extract instead. You can swap the low-fat milk for whole milk if you want it extra rich. If you can’t find sweetened condensed milk, you can make your own by simmering 2 cups milk with ½ cup sugar until thick.
Pro Tips
- Temperature matters: Make sure your custard base is completely cold before churning. This helps it freeze faster and smoother.
- Don’t rush the custard: Keep the heat at medium and stir constantly. Patience here means silky smooth ice cream later!
- Add fun mix-ins: Stir in crumbled cookies, toasted nuts, or chopped fruit during the last 5 minutes of churning. Keep pieces pea-sized for the best texture.
- Pre-freeze your container: Pop your storage container in the freezer while the ice cream churns. This helps prevent melting when you transfer it.
FAQs
Can I make this without an ice cream maker?
You bet! Pour the chilled mixture into a shallow dish and freeze for 45 minutes. Take it out and whisk vigorously, then repeat this process 3-4 times until it’s creamy and frozen. It takes longer but totally works!
Why did my custard curdle?
No worries – this happens when the mixture gets too hot or the milk is added too quickly to the eggs. Next time, keep the heat lower and pour that hot milk super slowly while whisking like crazy. The straining step will catch any little bits anyway!
Can I double this recipe?
Sure! Just make sure your ice cream maker can handle the larger batch. Most home machines work best with 1-2 quart batches, so you might need to make it in two separate churns.
How do I know when the custard is ready?
Run your finger across the back of your wooden spoon after dipping it in the custard. If the line stays clear and doesn’t run together, you’re good to go! It should coat the spoon lightly but not be super thick.
I hope you love this creamy, dreamy ice cream as much as my family does! Let me know how it turns out for you and what fun mix-ins you try. There’s nothing quite like the smile on someone’s face when they taste homemade ice cream!