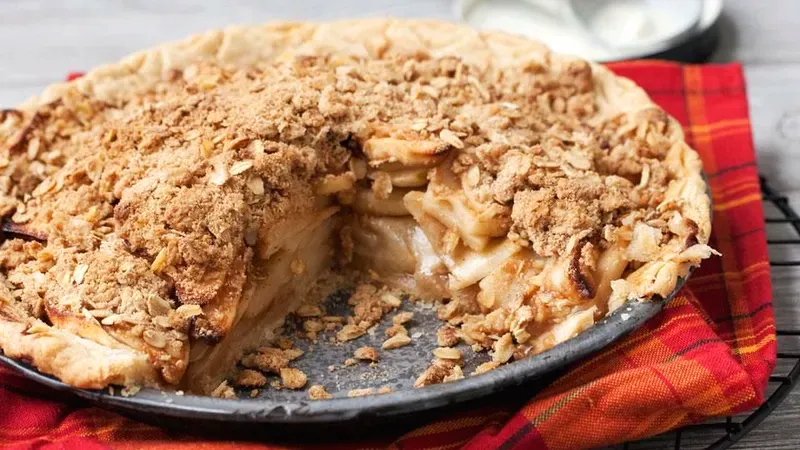
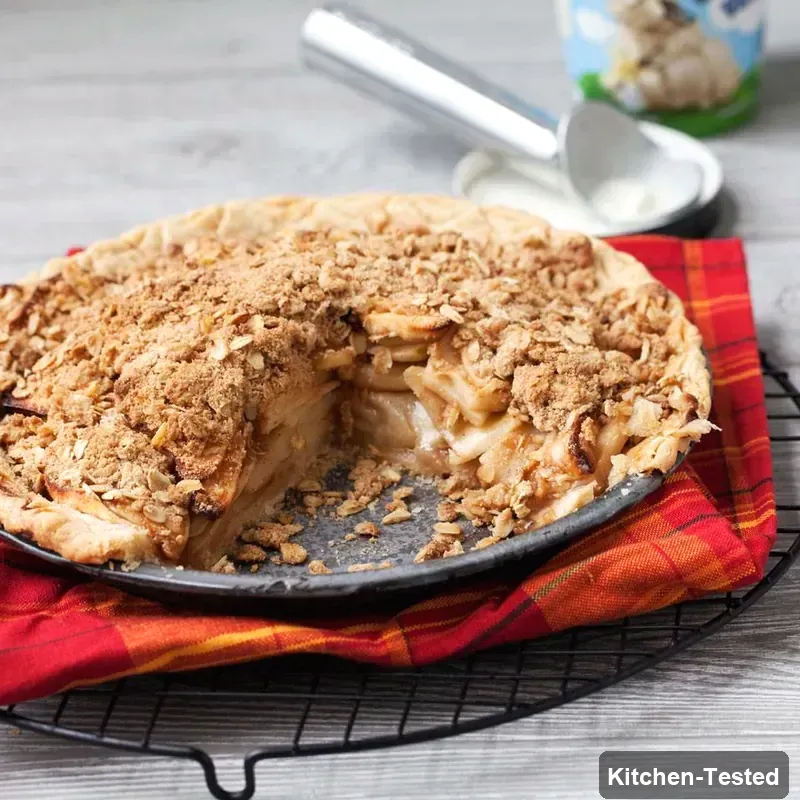
Gluten-Free Apple Pie
Nothing beats the heavenly smell of apple pie baking in your oven! This gluten-free version is perfect for anyone avoiding gluten but still wanting that classic comfort dessert. Plus, it tastes so amazing that even your gluten-loving friends won’t know the difference.

Recipe Details
Timing & Servings: Prep Time: 45 minutes, Additional Time: 2 hours 45 minutes, Total Time: 3 hours 30 minutes, Serves: 10 people.
Nutrition Profile: Nut-Free, Low-Sodium, Soy-Free, High-Fiber, Egg-Free, Gluten-Free.
Nutrition Facts (per serving): 261 Calories, 10g Fat, 43g Carbs, 3g Protein.
Ingredients You’ll Need
Gluten-free flour blend: You’ll need 1¼ cups plus an extra ¼ cup for the topping. I love how this creates a tender crust that holds together beautifully. Salt: Just ¼ teaspoon to bring out all the flavors. Cold butter: 6 tablespoons for the crust and 2 more for the topping, cut into small chunks. Cold butter is key for a flaky crust! Ice water: 2-3 tablespoons to bring the dough together perfectly.
Granny Smith apples: 8 cups of thinly sliced peeled apples, which is about 4-5 medium apples. These tart apples hold their shape beautifully when baked. Brown sugar: ½ cup packed for the filling plus 3 tablespoons for the topping. This adds that perfect caramel sweetness. Lemon juice: 1 tablespoon keeps your apples from browning and adds brightness. Ground cinnamon: ½ teaspoon for the filling and another ½ teaspoon for the topping. Cornstarch: 1 tablespoon helps thicken those delicious apple juices. Gluten-free rolled oats: ½ cup for that amazing crumbly topping texture.
How to Make Gluten-Free Apple Pie

Step 1: Mix the gluten-free flour and salt in a large bowl. Cut in 6 tablespoons of cold butter using a pastry blender until you see pebble-size pieces. Add ice water one tablespoon at a time until the dough just starts clumping together. Pat into a 5-inch disk and wrap in plastic. Chill for at least 1 hour.
Step 2: Heat your oven to 400°F. Combine the sliced apples, ½ cup brown sugar, lemon juice, and cinnamon in a large bowl. Let this sit for 10 minutes so the apples release their juices. Then add cornstarch and toss everything together.
Step 3: Roll out your chilled dough between two pieces of plastic wrap to a 12-inch circle. Flip it into a 9-inch pie pan and remove the plastic. Trim the edges and crimp them nicely. Fill with your apple mixture and all those tasty juices.
Step 4: Bake for 20 minutes. While it’s baking, make your topping by mixing oats, ¼ cup flour, 3 tablespoons brown sugar, and cinnamon. Cut in 2 tablespoons cold butter until crumbly.
Step 5: Lower oven to 350°F and sprinkle the oat topping over your pie. Bake for 40 more minutes until the apples are tender and topping is golden. Let it cool for at least 1 hour before slicing.
Easy and Quick Gluten-Free Apple Pie Version
Want to save some time? You can use a store-bought gluten-free pie crust! Just roll it out and follow the same filling and topping steps. This cuts your prep time down to about 20 minutes. You can also skip the homemade crumb topping and just sprinkle some extra cinnamon and sugar on top before baking.
Serving Ideas
This pie is absolutely perfect on its own, but it’s even better with a scoop of vanilla ice cream on top. The warm pie with cold ice cream is pure heaven! You could also serve it with some fresh whipped cream or a drizzle of caramel sauce for extra indulgence.
Storage
Keep your leftover pie covered at room temperature for up to 2 days, or in the fridge for up to 5 days. To reheat, pop individual slices in the microwave for 30 seconds or warm the whole pie in a 350°F oven for 10-15 minutes. The crust gets nice and crispy again this way!
Substitutions
No gluten-free flour blend? You can make your own with 1 cup rice flour plus ¼ cup potato starch. Don’t have Granny Smith apples? Honeycrisp or Braeburn work great too. You can swap the brown sugar for coconut sugar if you prefer, and maple syrup works instead of some of the sugar too.
Pro Tips
- Keep everything cold: Cold butter and ice water make the flakiest crust ever.
- Don’t overwork the dough: Mix just until it comes together for tender results.
- Let the apples sit: Those 10 minutes help draw out juices for better flavor.
- Check your oats: Make sure they’re labeled gluten-free to avoid cross-contamination.
- Cool completely: I know it’s hard to wait, but this helps the filling set up perfectly.
FAQs
Can I make this pie ahead of time?
You bet! You can make the whole pie up to 2 days ahead and store it covered at room temperature. The flavors actually get even better after a day. You can also make just the crust dough up to 2 days ahead and keep it wrapped in the fridge.
Why is my crust falling apart?
This usually happens when the dough is too dry or overworked. Add ice water one tablespoon at a time until it just holds together. Also, make sure your butter is really cold when you start mixing.
Can I freeze this pie?
Sure! You can freeze the baked pie for up to 3 months. Wrap it really well in plastic wrap and foil. Thaw overnight in the fridge and reheat in a 350°F oven for about 20 minutes.
What if I don’t have a pastry blender?
No worries! You can use two butter knives to cut the butter into the flour, or even use your clean hands to rub it in. A food processor works great too if you have one.
I hope you love this gluten-free apple pie as much as my family does! It’s become our go-to dessert for fall gatherings. Let me know how yours turns out – I’d love to hear about any fun variations you try!