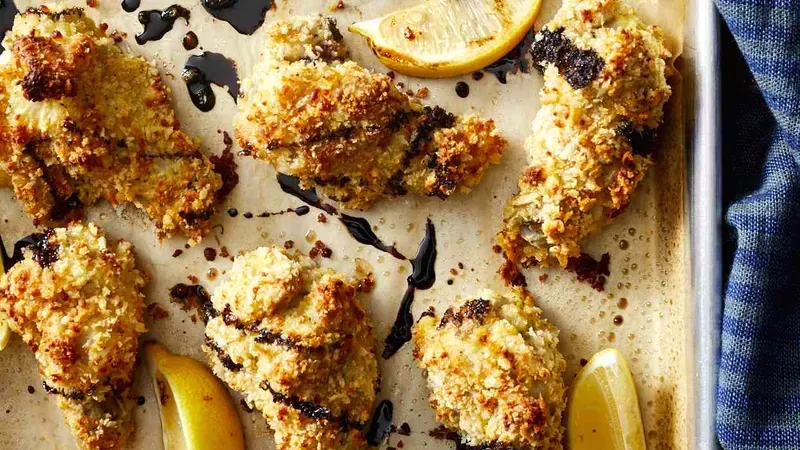
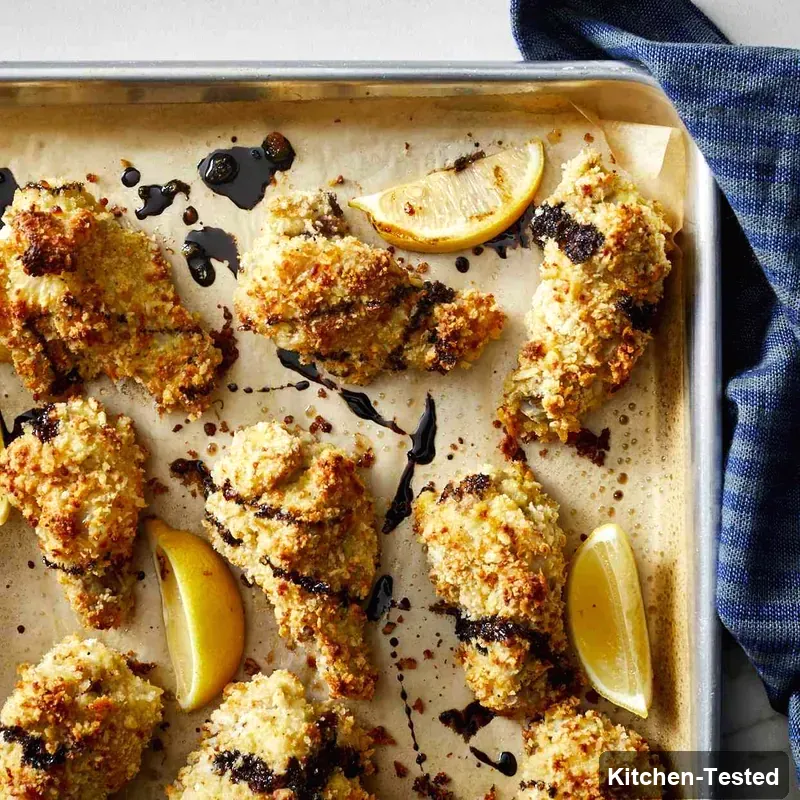
Garlic-Parmesan Chicken Wings
These crispy garlic-Parmesan chicken wings are absolutely perfect for anyone who loves that amazing combination of savory garlic and rich cheese! Your family and friends are going to be so impressed when you serve these golden, crunchy wings that are baked instead of fried – so much healthier but just as delicious.

Recipe Details
Timing & Servings: Prep Time: 15 minutes, Additional Time: 20 minutes, Total Time: 35 minutes, Serves: 8 people, Yield: 24 pieces.
Nutrition Profile: Low-Carb, Nut-Free, Soy-Free, High-Protein.
Nutrition Facts (per serving): 221 Calories, 12g Fat, 12g Carbs, 16g Protein.
Ingredients You’ll Need
Cooking spray: This helps everything get nice and crispy without sticking to the pan. Any brand works great!
All-purpose flour: You’ll need ½ cup for the first coating layer. This helps the egg stick to the chicken perfectly.
Garlic powder: 2 tablespoons gives these wings that amazing garlic flavor we all love. Fresh garlic would burn in the oven, so powder is perfect here.
Ground pepper: 2 teaspoons adds just the right amount of spice. Black pepper works best, but use what you have.
Large eggs: You’ll need 3 eggs beaten up well. They help the breadcrumb coating stick to each wing piece.
Panko breadcrumbs: 1 ½ cups of these Japanese-style breadcrumbs make everything extra crispy. They’re so much better than regular breadcrumbs!
Grated Parmesan cheese: 1 ¼ cups of freshly grated works best, but the pre-grated stuff from the store is totally fine too.
Chicken wings: 2 pounds cut at the joints with wing tips removed. Ask your butcher to do this, or you can do it yourself with kitchen shears.
Balsamic glaze: 3 tablespoons for drizzling at the end. You can buy this or make your own – I’ll show you how!
Lemon wedges: For serving alongside the wings. The fresh citrus really brightens up all those rich flavors.
How to Make Garlic-Parmesan Chicken Wings

Step 1: Preheat your oven to 450 degrees F. Line a baking sheet with parchment paper and coat it with cooking spray. Set up three shallow dishes – flour mixed with garlic powder and pepper in the first one, beaten eggs in the second, and panko mixed with Parmesan cheese in the third.
Step 2: Working in batches, dredge each chicken piece in the flour mixture first. Shake off any excess flour, then dip in the beaten eggs. Finally, coat with the panko-cheese mixture, making sure each piece is well covered.
Step 3: Place all the coated wings on your prepared baking sheet. Give them a light spray with cooking spray – this helps them get golden and crispy.
Step 4: Bake for 20 to 25 minutes, turning the wings halfway through cooking time. They’re done when they’re golden brown and an instant-read thermometer reads 165 degrees F in the thickest part.
Step 5: Arrange your beautiful wings on a serving platter. Drizzle with balsamic glaze and serve with lemon wedges on the side.
Easy and Quick Garlic-Parmesan Chicken Wings Version
Want to make these even faster? You can skip the flour step and just dip the wings in beaten egg, then straight into the panko-Parmesan mixture! They’ll still be super tasty, just a little less crispy. Also, if you’re in a real hurry, use store-bought balsamic glaze instead of making your own – it saves you about 15 minutes and tastes great.
Serving Ideas
These wings make a perfect appetizer for game day or parties! Serve them with some cool ranch dressing or blue cheese dip on the side. They also go great with crispy celery sticks and carrot sticks for a complete snack spread that everyone will love.
Storage
Store leftover wings in the fridge for up to 3 days in a covered container. To reheat, pop them in a 350-degree oven for about 10 minutes to get them crispy again. Don’t use the microwave – it makes them soggy!
Substitutions
No panko breadcrumbs? Regular breadcrumbs work fine, just use the same amount. You can swap the Parmesan for any hard cheese like Romano or Asiago. If you don’t have garlic powder, try onion powder or Italian seasoning for a different but delicious flavor.
Pro Tips
- Make your own balsamic glaze: Boil ¾ cup balsamic vinegar in a small pan over medium-high heat until it’s thick and syrupy – takes about 10 to 14 minutes!
- Don’t overcrowd: Give each wing some space on the baking sheet so they get crispy all over.
- Pat wings dry: Use paper towels to dry the wings before coating – this helps everything stick better.
- Double-check temperature: Always use a meat thermometer to make sure wings hit 165 degrees F for food safety.
FAQs
Can I make these wings ahead of time?
You bet! You can coat the wings up to 4 hours ahead and keep them covered in the fridge. Just bake them when you’re ready to serve. They’re best eaten fresh from the oven though!
What if I don’t have parchment paper?
No worries! You can use aluminum foil instead, just make sure to spray it really well with cooking spray so the wings don’t stick.
Can I use frozen wings?
Sure! Just make sure to thaw them completely first and pat them really dry with paper towels. Frozen wings have more moisture, so the coating might not stick as well if they’re not totally dry.
How do I know when the balsamic glaze is ready?
It’s perfect when it coats the back of a spoon and drizzles slowly. If you draw a line through it with your finger, the line should stay for a few seconds before filling back in.
I hope you love these crispy, cheesy wings as much as my family does! Let me know how they turn out for you – I always love hearing about your cooking adventures. Happy cooking, friend!