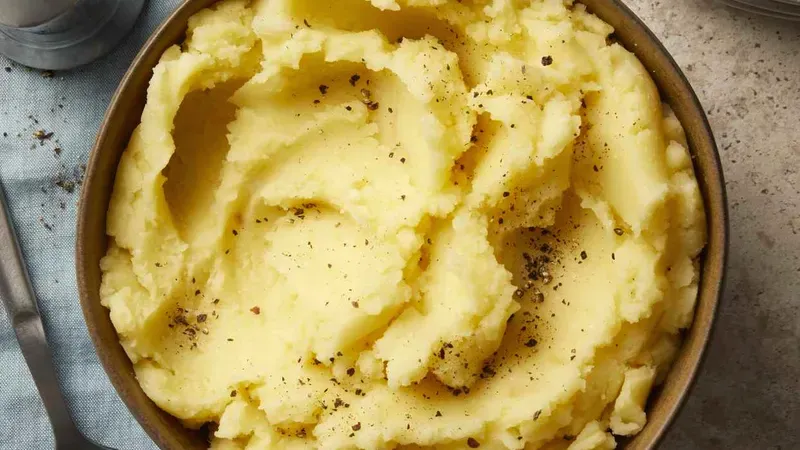
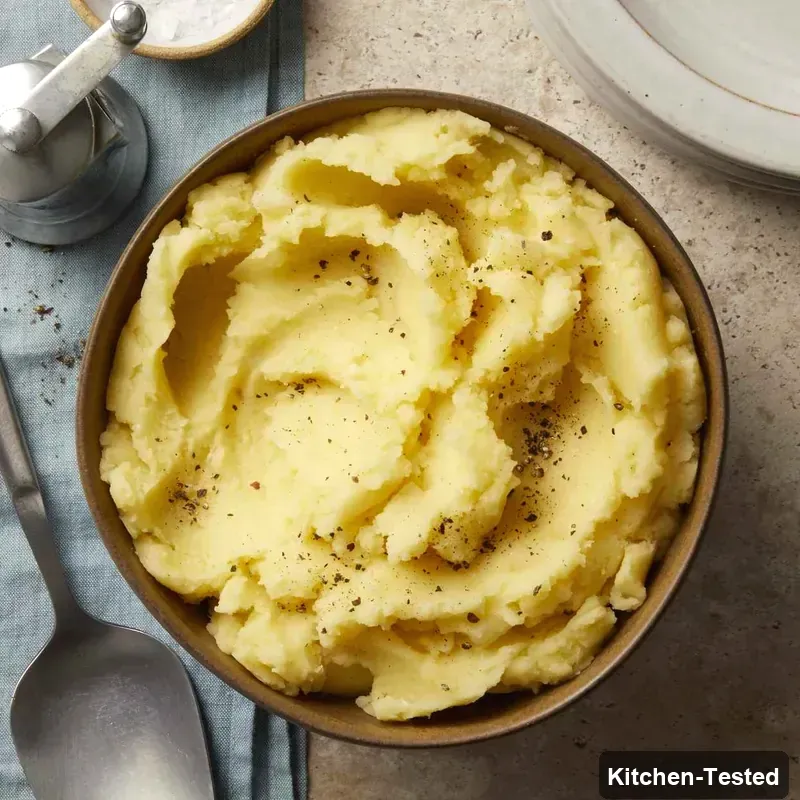
Buttermilk Mashed Potatoes
Get ready for the creamiest, most comforting mashed potatoes that will make your whole family smile! These buttermilk beauties are perfect for anyone who wants delicious comfort food that’s actually good for you. The secret garlic boost gives them incredible flavor while keeping them heart-healthy and diabetes-friendly.

Recipe Details
Timing & Servings: Cook Time: 20 minutes, Additional Time: 15 minutes, Total Time: 35 minutes, Serves: 6 people.
Nutrition Profile: Diabetes-Friendly, Low-Sodium, High Blood Pressure, Heart-Healthy, Vegetarian, Gluten-Free, Low-Calorie.
Nutrition Facts (per serving): 145 Calories, 2g Fat, 30g Carbs, 5g Protein.
Ingredients You’ll Need
Yukon Gold Potatoes: You’ll need 2 pounds of all-purpose potatoes, which is about 6 medium potatoes. I love using Yukon Gold because they get so creamy and buttery without needing tons of extras!
Garlic: 6 whole cloves that you’ll cook right with the potatoes. This is my favorite trick because it makes the garlic super mild and adds amazing flavor throughout.
Butter: Just 2 teaspoons, but we’re going to brown it for that nutty, rich taste. A little goes a long way when you brown it first!
Buttermilk: 1 cup of tangy buttermilk makes these potatoes incredibly creamy. Don’t worry if you don’t have buttermilk – I’ll share a substitute later!
Salt and Pepper: Season to taste with regular salt and either white or black pepper. White pepper keeps the color pretty, but black pepper tastes just as good.
How to Make Buttermilk Mashed Potatoes

Step 1: Peel your potatoes and cut them into chunks. Put them in a large heavy saucepan with the 6 garlic cloves. Cover with water and add some salt. Bring everything to a boil, then turn the heat to medium and cover the pot.
Step 2: Cook the potatoes for 10 to 15 minutes until they’re really tender. You should be able to easily stick a fork through them. While they’re cooking, let’s work on the buttermilk mixture!
Step 3: In a small saucepan over low heat, melt your 2 teaspoons of butter. Keep swirling it around for about 1 minute until it turns a beautiful nutty brown color. You’ll smell this amazing toasty scent!
Step 4: Stir the buttermilk into your browned butter. Heat it just until it’s warm – don’t let it get too hot or it might curdle. Just warm to the touch is perfect!
Step 5: When your potatoes are super tender, drain them in a colander. Put them back in the same pan and place it over low heat for about 1 minute, shaking the pan to dry them out.
Step 6: Now for the fun part! Mash those potatoes and garlic together using a potato masher, hand mixer, or ricer. Add your warm buttermilk mixture a little at a time until you get a smooth, creamy texture. Season with salt and pepper to taste.
Easy and Quick Buttermilk Mashed Potatoes Version
Want to make this even faster? You can skip the browning butter step and just warm 2 teaspoons of regular butter with the buttermilk! You’ll still get delicious, creamy potatoes in less time. Also, if you’re in a real hurry, you can use a hand mixer instead of mashing by hand – it’ll give you super smooth potatoes in seconds.
Serving Ideas
These creamy potatoes make a complete and satisfying side dish for any meal. They’re perfect with roasted chicken, grilled vegetables, or even just a simple salad. I love serving them with some fresh herbs sprinkled on top for extra color and flavor.
Storage
Store leftover mashed potatoes in the fridge for up to 3 days. To reheat, just warm them in the microwave or on the stovetop with a splash of milk or buttermilk. They’ll taste just as creamy as when you first made them!
Substitutions
No buttermilk? No problem! Mix 1 cup of regular milk with 1 tablespoon of lemon juice or vinegar. Let it sit for 5 minutes and you’ve got buttermilk! You can also use regular milk or even chicken broth for different flavors. If you want to skip the garlic, these potatoes are still amazing without it.
Pro Tips
- Perfect Texture: Don’t overmix your potatoes or they’ll get gummy. Stop as soon as they’re smooth!
- Extra Creamy: Add the buttermilk mixture slowly – you might not need it all, or you might want a little extra.
- Flavor Boost: That browned butter really makes a difference! Don’t skip this step if you have time.
- Garlic Love: Cooking the garlic with the potatoes makes it super mild and sweet. Even garlic-shy people will love it!
FAQs
Can I make these potatoes ahead of time?
You bet! Make them up to a day ahead and reheat gently with a splash of buttermilk. They’ll taste fresh and creamy. Just give them a good stir when reheating.
Why do I need to dry the potatoes after draining?
Sure! This step removes extra water so your mashed potatoes won’t be watery. Just shake the pan over low heat for a minute and you’ll see the steam coming off. It makes such a difference!
Can I use a different type of potato?
Absolutely! Yukon Gold potatoes are my favorite because they’re naturally creamy, but russet potatoes work great too. Just avoid waxy potatoes like red potatoes – they don’t mash as smoothly.
What if my buttermilk mixture curdles?
No worries! If it curdles a little, it’ll still taste fine once you mix it into the potatoes. Just try to keep the heat low next time and don’t let it get too hot.
I hope you love these creamy, garlicky mashed potatoes as much as my family does! They’re proof that healthy food can be incredibly comforting and delicious. Let me know how yours turn out – I’d love to hear about any tweaks you make to make them your own!