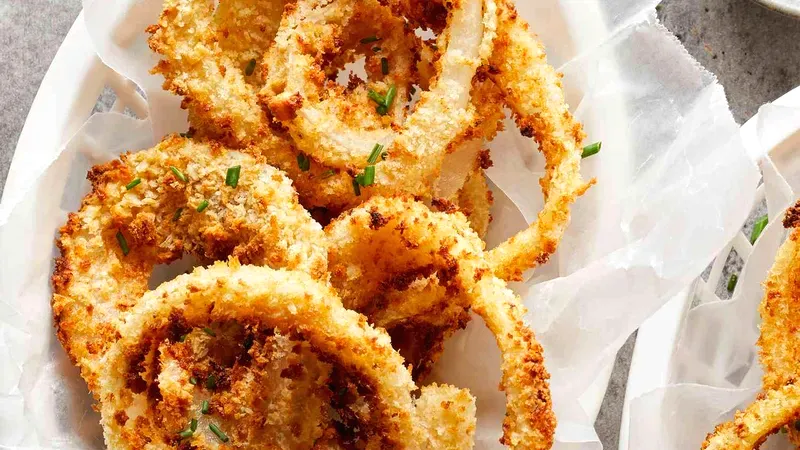
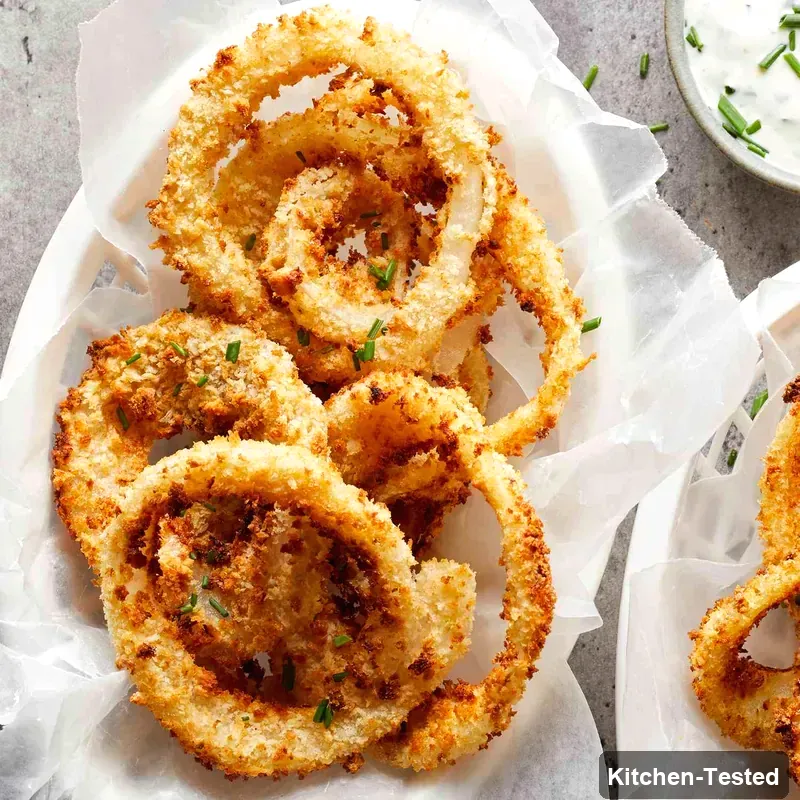
Crispy Air-Fryer Onion Rings
These golden, crispy onion rings are going to make everyone at your dinner table so happy! Kids and adults absolutely love these crunchy treats, and the best part is they’re made in your air fryer with way less oil than traditional deep-fried versions.

Recipe Details
Timing & Servings: Active Time: 45 minutes, Total Time: 55 minutes, Serves: 8 people.
Nutrition Profile: Nut-Free, Soy-Free, Vegetarian
Nutrition Facts (per serving): 245 Calories, 13g Fat, 27g Carbs, 7g Protein
Ingredients You’ll Need
Cooking spray: This helps your onion rings get that perfect golden color without sticking to the basket. Any brand works great!
Sweet onions: You’ll need 2 large ones, about 10 ounces each. Sweet onions are perfect because they’re not too sharp and get beautifully caramelized. Slice them about 1/2-inch thick.
Onion powder: Just 1/2 teaspoon adds extra onion flavor that really makes these rings pop.
Garlic powder: You’ll use 1 teaspoon total, but we’ll divide it between the coating and the dipping sauce. It adds such a nice savory touch!
Kosher salt: 1/2 teaspoon divided between seasoning the rings and finishing them off. You can use regular salt if that’s what you have.
Large eggs: 2 eggs help create that perfect coating that sticks to the onions beautifully.
Whole-wheat flour: 1/2 cup gives you a heartier coating with more nutrition than regular flour.
Buttermilk: 3/4 cup total, but you’ll use some in the batter and save some for the amazing dipping sauce. The tangy flavor is so good!
Panko breadcrumbs: 3 cups of these Japanese-style breadcrumbs create the crispiest coating ever. They’re lighter and crunchier than regular breadcrumbs.
Mayonnaise: 1/2 cup for the creamy dipping sauce that perfectly balances the crispy rings.
Fresh chives and parsley: 1 tablespoon each, chopped up fine. These fresh herbs make the dipping sauce taste like it came from a fancy restaurant!
How to Make Air-Fryer Onion Rings

Step 1: Preheat your air fryer to 375°F for about 3 minutes. Give the fryer basket a good coating with cooking spray so nothing sticks.
Step 2: Separate your onion slices into individual rings. Toss them in a large bowl with onion powder, 1/2 teaspoon garlic powder, and 1/4 teaspoon salt. Make sure every ring gets coated!
Step 3: Set up your coating station. In one shallow dish, whisk together eggs, flour, and 1/2 cup buttermilk until smooth. Put the panko in another shallow dish right next to it.
Step 4: Dip each onion ring in the egg mixture first. Let the excess drip off for a second. Then roll it in the panko, pressing gently so the crumbs stick really well.
Step 5: Place the coated rings in your air fryer basket. Don’t overcrowd them or they won’t get crispy. Spray the tops with cooking spray.
Step 6: Cook for about 8 minutes, flipping once halfway through. They should be golden brown and crispy. Repeat with remaining rings in batches.
Step 7: While they’re cooking, make your dipping sauce. Whisk together mayo, chives, parsley, remaining 1/4 cup buttermilk, and 1/2 teaspoon garlic powder.
Step 8: Sprinkle the finished onion rings with the remaining 1/4 teaspoon salt and serve immediately with that amazing dipping sauce!
Easy and Quick Air-Fryer Onion Rings Version
Want to make this even faster? You can skip the fresh herbs and just use 1 teaspoon dried chives in the dipping sauce! Also, if you have pre-made onion ring coating mix, use that instead of making your own flour mixture. Just follow the package directions and air fry the same way!
Serving Ideas
These crispy onion rings make the perfect side for burgers, grilled chicken, or fish. They’re also amazing as a snack with some cold beer or lemonade. Try serving them alongside sweet potato fries or a fresh green salad for a complete meal that everyone will love!
Storage
Store leftover onion rings in the fridge for up to 2 days in an airtight container. To reheat, pop them back in the air fryer at 350°F for 2-3 minutes until they’re crispy again. Don’t use the microwave or they’ll get soggy!
Substitutions
No buttermilk? Mix 3/4 cup regular milk with 1 tablespoon lemon juice and let it sit for 5 minutes. Regular breadcrumbs work instead of panko, but panko gives you better crunch. You can swap the whole-wheat flour for all-purpose flour if that’s what you have on hand!
Pro Tips
- Perfect rings: Choose onions that are firm and heavy for their size. The rings will hold together better!
- Extra crispy: Don’t skip the cooking spray on top of the rings. It really helps them brown beautifully.
- Even cooking: Don’t overcrowd the air fryer basket. Better to do more batches than have soggy rings!
- Sauce magic: Make the dipping sauce ahead of time. The flavors get even better after sitting for 30 minutes.
FAQs
Can I make these onion rings ahead of time?
Sure! You can coat the onion rings and freeze them on a baking sheet. Once frozen, store them in freezer bags for up to 3 months. Cook them straight from frozen, just add 2-3 extra minutes to the cooking time!
What if I don’t have an air fryer?
You bet you can still make these! Bake them in a 425°F oven for about 15-18 minutes, flipping once halfway through. They won’t be quite as crispy, but they’ll still taste great!
Can I use a different type of onion?
Absolutely! Yellow onions work really well too. Just avoid red onions since they can be a bit too sharp when cooked this way. Sweet onions really are the best choice for the mildest, most delicious flavor!
I hope you and your family love these crispy onion rings as much as mine does! Let me know in the comments how they turned out for you. Did you try any fun variations with the dipping sauce? I love hearing about your cooking adventures!