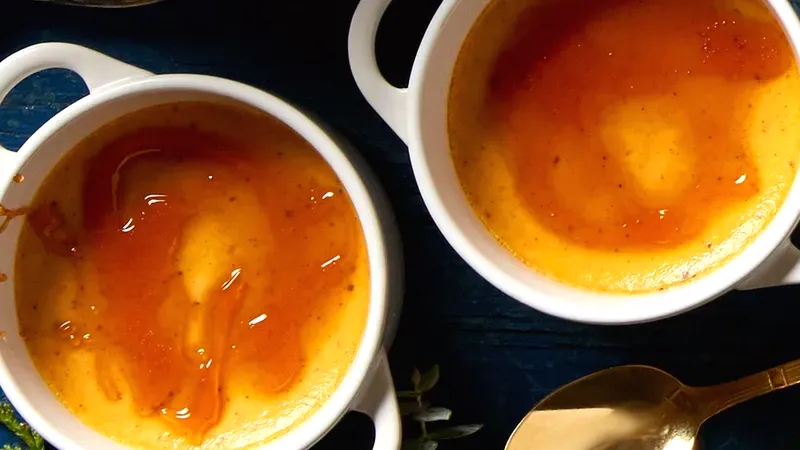
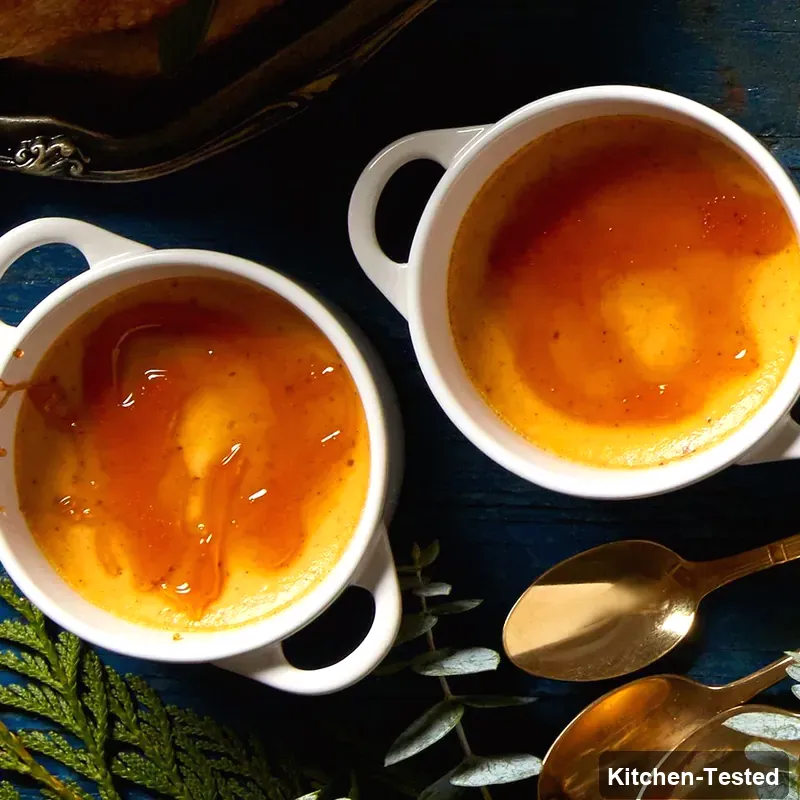
Pumpkin Crème Brûlée
This gorgeous pumpkin crème brûlée is pure fall magic that dessert lovers absolutely adore! It’s diabetic-friendly and surprisingly lighter than traditional versions, so everyone can enjoy this elegant treat.

Recipe Details
Timing & Servings: Prep Time: 20 minutes, Additional Time: 8 hours 50 minutes, Total Time: 9 hours 10 minutes, Serves: 8 people.
Nutrition Profile: Diabetes-Friendly, Nut-Free, Soy-Free, Vegetarian, Gluten-Free, Low-Calorie.
Nutrition Facts (per serving): 182 Calories, 7g Fat, 23g Carbs, 6g Protein.
Ingredients You’ll Need
Evaporated fat-free milk: You’ll need one 12-ounce can, which makes this dessert so much lighter than traditional versions. This gives you all that creamy richness without the extra calories!
Half-and-half: Just ¾ cup adds the perfect touch of richness. You can find this right next to the regular milk in your grocery store.
Butter: One tablespoon brings that lovely smooth texture. Regular unsalted butter works perfectly here.
Pumpkin pie spice: ¾ teaspoon gives you all those warm fall flavors in one easy blend. You can also make your own with cinnamon, nutmeg, and ginger!
Salt: Just ¼ teaspoon enhances all the other flavors. Don’t skip this little bit – it makes a big difference!
Egg yolks: You’ll need 4 egg yolks for that silky custard texture. Save the whites for scrambled eggs tomorrow morning!
Whole egg: One whole egg helps bind everything together beautifully. Room temperature eggs mix in easier than cold ones.
Canned pumpkin: ¾ cup of pure pumpkin puree (not pumpkin pie filling) gives you that gorgeous fall flavor. Make sure it’s the plain stuff!
Sugar: ⅓ cup for the custard base, plus 8 teaspoons for that amazing caramelized top. Regular granulated sugar works perfectly.
Vanilla: 1½ teaspoons of pure vanilla extract adds such a lovely warmth. The real stuff tastes so much better than imitation!
Whipped topping: ½ cup of thawed frozen light whipped topping makes the perfect creamy finish. You can also use regular whipped cream if you prefer!
How to Make Pumpkin Crème Brûlée

Step 1: Preheat your oven to 325°F. Place eight 6-ounce ramekins in a large roasting pan. Heat the evaporated milk, half-and-half, butter, pumpkin pie spice, and salt in a small heavy saucepan over medium-low heat. Watch for bubbling edges and nearly melted butter.
Step 2: While the milk heats up, whisk together egg yolks, whole egg, pumpkin, ⅓ cup sugar, and vanilla in a medium bowl. Mix just until everything comes together nicely. Slowly pour in the hot milk mixture while whisking constantly.
Step 3: Divide your pumpkin mixture evenly among the ramekins. Place the roasting pan on your oven rack first. Then pour enough boiling water into the pan to reach halfway up the sides of your ramekins.
Step 4: Bake for 30 to 40 minutes until the centers barely jiggle when you gently touch the pan. Remove ramekins from the water bath and let them cool on a wire rack. Cover and chill for at least 8 hours or overnight.
Step 5: Before serving, let your custards sit at room temperature for 20 minutes. Heat 8 teaspoons of sugar in a medium heavy skillet over medium-high heat. Shake the pan occasionally but don’t stir until it starts melting.
Step 6: Once the sugar begins to melt, reduce heat to low. Cook for 5 minutes until all sugar melts and turns golden. Stir with a wooden spoon as needed. Quickly pour the melted sugar over each custard and serve right away with whipped topping!
Easy and Quick Pumpkin Crème Brûlée Version
Want to skip the stovetop caramelizing? You can totally use a kitchen torch instead! Just sprinkle 1 teaspoon of sugar over each chilled custard. Move the torch flame evenly across the top until you get that perfect crispy caramelized layer. It’s so much fun and gives you great control over the browning!
Serving Ideas
This elegant dessert is perfect all on its own for a complete sweet ending to any meal. Serve it with some crispy gingersnap cookies or delicate butter cookies on the side. A small dollop of that light whipped topping makes it extra special!
Storage
Store your finished crème brûlées covered in the refrigerator for up to 3 days. The custard part actually gets even better after a day or two! Just add the caramelized sugar topping right before serving for the best crunch.
Substitutions
You can swap the evaporated fat-free milk for regular evaporated milk if you want extra richness. Half-and-half can be replaced with heavy cream for an even more decadent version. If you don’t have pumpkin pie spice, mix ½ teaspoon cinnamon with ¼ teaspoon each of nutmeg and ginger!
Pro Tips
- Perfect Water Bath: Use a tea kettle to pour the boiling water – it’s so much easier to control and won’t splash into your custards.
- Test for Doneness: The centers should barely jiggle when you gently shake the pan. They’ll continue cooking a bit as they cool.
- Sugar Caramelizing: Don’t rush the sugar melting process. Low and slow gives you that perfect golden color without burning.
- Make-Ahead Magic: These actually taste better after chilling overnight, so they’re perfect for entertaining!
FAQs
Can I make this recipe with a sugar substitute?
You bet! Use Splenda Sugar Blend for Baking in place of the ⅓ cup sugar for the custards. Follow the package directions for the equivalent amount. Just use regular sugar for the caramelized topping since it needs to melt properly.
What if I don’t have ramekins?
No worries! You can use any 6-ounce oven-safe dishes like custard cups or even small coffee mugs. Just make sure they can handle the oven heat and fit in your roasting pan.
Can I skip the water bath?
I really don’t recommend it! The water bath keeps your custards from getting rubbery and helps them cook evenly. It’s what gives you that perfect silky texture we all love in crème brûlée.
How do I know when the sugar topping is ready?
Sure! The sugar should be completely melted and a beautiful golden amber color. It might bubble a bit, and that’s totally normal. Just don’t let it get too dark or it’ll taste bitter.
I’d love to hear how your pumpkin crème brûlée turns out! Drop me a comment and let me know if you tried any fun variations. Happy baking, friends!