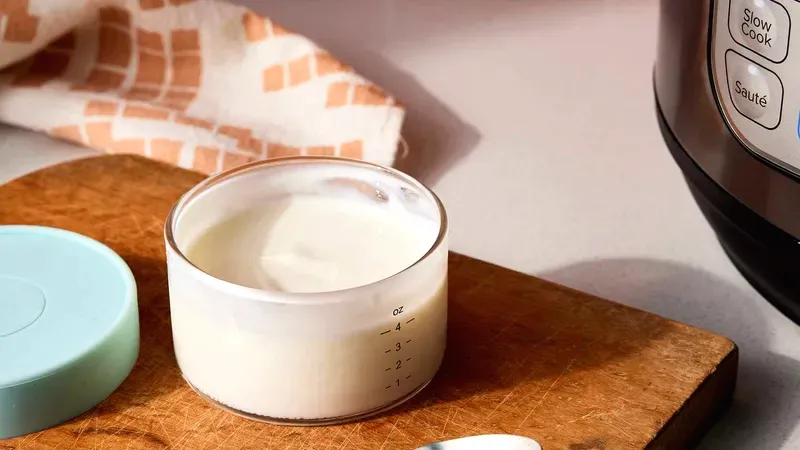
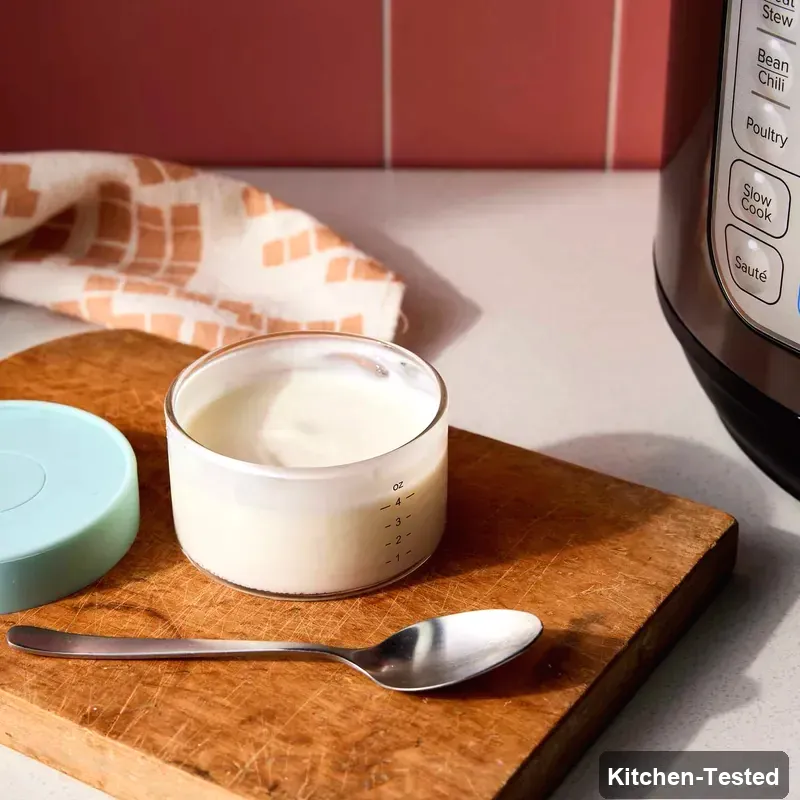
Instant-Pot Yogurt
Nothing beats the creamy, dreamy goodness of homemade yogurt that fills your kitchen with love! This recipe is perfect for busy families who want healthy, delicious yogurt without all the store-bought additives. The best part is your Instant Pot does all the hard work while you go about your day.

Recipe Details
Timing & Servings: Active Time: 10 minutes, Total Time: 16 hours 40 minutes, Serves: 8 people.
Nutrition Profile: Nut-Free, Soy-Free, Vegetarian, Egg-Free, Gluten-Free.
Nutrition Facts (per serving): 153 Calories, 8g Fat, 12g Carbs, 8g Protein.
Ingredients You’ll Need
Whole milk: You’ll need a half gallon, which is 8 cups total. The whole milk is what gives this yogurt that rich, creamy texture we all love. Don’t try to use skim milk here – trust me on this one!
Plain Greek yogurt: Just 2 tablespoons of whole-milk plain strained yogurt with active live cultures. This is your starter that brings all those good bacteria to the party. Make sure it says “live cultures” on the container!
How to Make Instant-Pot Yogurt

Step 1: Pour all your milk into the Instant Pot insert. Cover and lock the lid, making sure the steam release handle points to Venting. Select the Yogurt setting and adjust to Boil or High. Hit Start if your model needs it. Let it cook for about 30 minutes until it reaches 180°F and beeps.
Step 2: Carefully remove the lid and take out the insert. Let the milk cool down to between 110°F and 116°F – this takes about an hour. Want to speed things up? Pop that insert in a big bowl of ice water and stir it often. Just don’t let it get below 110°F! If you see a skin forming on top, just skim it off with a spoon.
Step 3: Stir your 2 tablespoons of yogurt into the cooled milk. Put the insert back in the Instant Pot. Lock the lid with the steam handle still on Venting. Select Yogurt setting again, but this time choose Medium temperature for 8 hours.
Step 4: After 8 hours, open the lid super carefully so condensation doesn’t drip into your beautiful yogurt. Let it sit undisturbed for about an hour to cool to room temperature. Cover with plastic wrap and chill in the fridge for at least 6 hours, but up to 12 hours is even better.
Step 5: Want thicker, Greek-style yogurt? Line a fine-mesh strainer with a coffee filter or cheesecloth over a big bowl. Spoon in your yogurt and let it strain in the fridge for 4 to 8 hours. The longer you strain, the thicker it gets!
Easy and Quick Instant-Pot Yogurt Version
Here’s the thing – there really isn’t a shortcut for this one, and that’s okay! The Instant Pot is already doing all the heavy lifting for you. Just set it and forget it. The long time is mostly hands-off waiting, so you’re not actually working the whole time. You’ve got this!
Serving Ideas
This creamy yogurt is amazing all by itself, but it’s also perfect for smoothies and parfaits. Layer it with fresh berries and granola for a gorgeous breakfast. You can also use it in place of sour cream on tacos or baked potatoes. It makes everything taste so much fresher!
Storage
Keep your homemade yogurt in an airtight container in the fridge for up to 2 weeks. Just know that it’ll get a bit thinner and tangier as time goes on. That’s totally normal! No need to reheat – this baby is meant to be enjoyed cold.
Substitutions
Whole milk really is best here, but you can try 2% if that’s what you have. Just know your yogurt might not be quite as thick and creamy. For the starter yogurt, any plain yogurt with live cultures works great. Greek or regular – both are fine!
Pro Tips
- Temperature matters: Get yourself a good thermometer. Too hot kills the cultures, too cold and they won’t grow.
- Don’t skip the straining: If you love thick yogurt, that straining step is pure magic.
- Save some for next time: Keep 2 tablespoons of your homemade yogurt to start your next batch!
- Be patient: Don’t peek during the 8-hour culturing time. Let those good bacteria do their thing.
FAQs
Why didn’t my yogurt thicken?
Usually this happens when the milk got too hot and killed the cultures, or it wasn’t warm enough for them to grow. Make sure you’re hitting that sweet spot between 110°F and 116°F when you add your starter yogurt. You can try again with fresh starter!
Can I use non-dairy milk?
You bet! Coconut milk works really well. Just make sure it’s full-fat and you might need to add a thickener like agar powder. The process is the same, but the results will be a little different.
How do I know if my yogurt went bad?
Trust your nose! Good yogurt smells tangy and fresh. If it smells off, has mold, or the texture seems really weird, it’s time to toss it. When in doubt, throw it out!
Can I make this without an Instant Pot?
Sure! You can make yogurt in a regular pot on the stove, but you’ll need to watch the temperatures more carefully. The Instant Pot just makes it so much easier and more foolproof.
I’d love to hear how your homemade yogurt turns out! Drop a comment below and let me know if you tried any fun flavors or mix-ins. There’s something so satisfying about making your own yogurt from scratch – you’re going to love it!